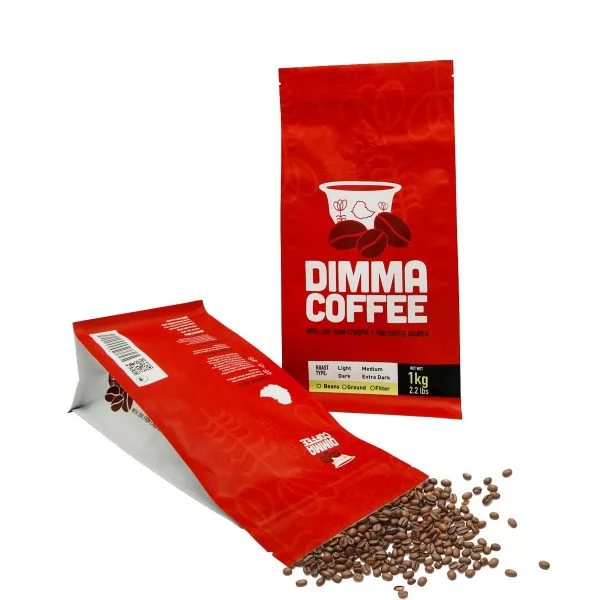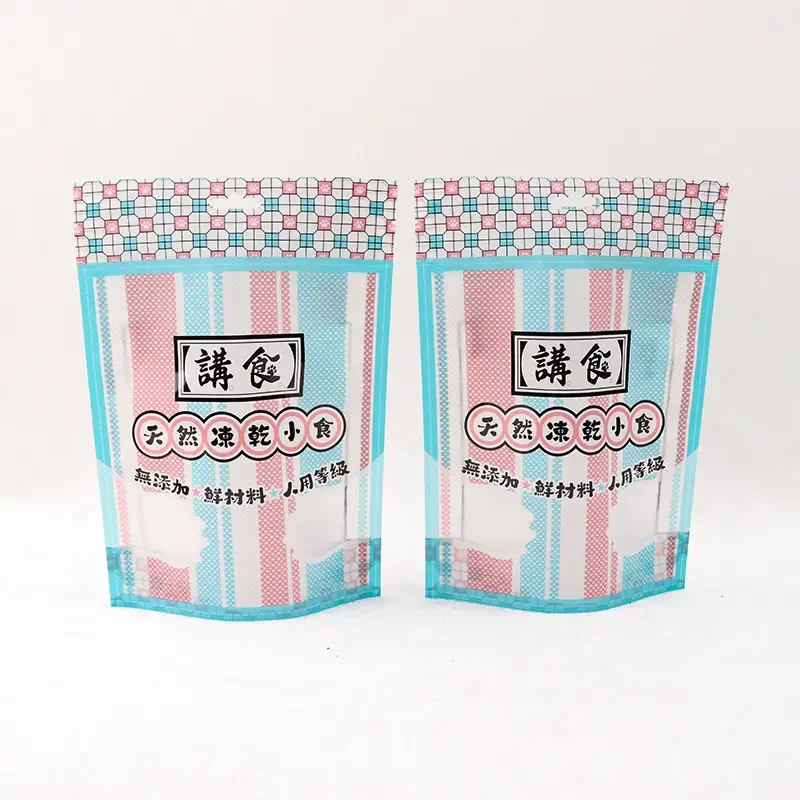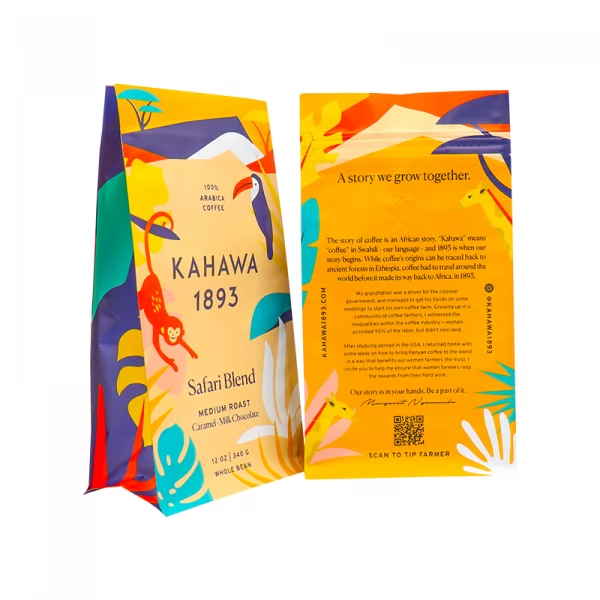

Fill volume and zipper clearance set the right 3.5g mylar bag size. The weight on the label does not. Two jars of "3.5g" can need different pouches, because dense and fluffy flower of equal weight take up very different space. So measure first, then pick a style, check the closure and print, and order samples.
Why the Same 3.5g Needs Different Pouches
A 3.5g mylar bag size is determined by the volume the product occupies after settling, plus the seal and zipper allowances around it. Weight only tells you how much product there is. A wrong guess shows up fast: a bulging seam when the bag is too small, or a half-empty, slumping bag when it is too large.
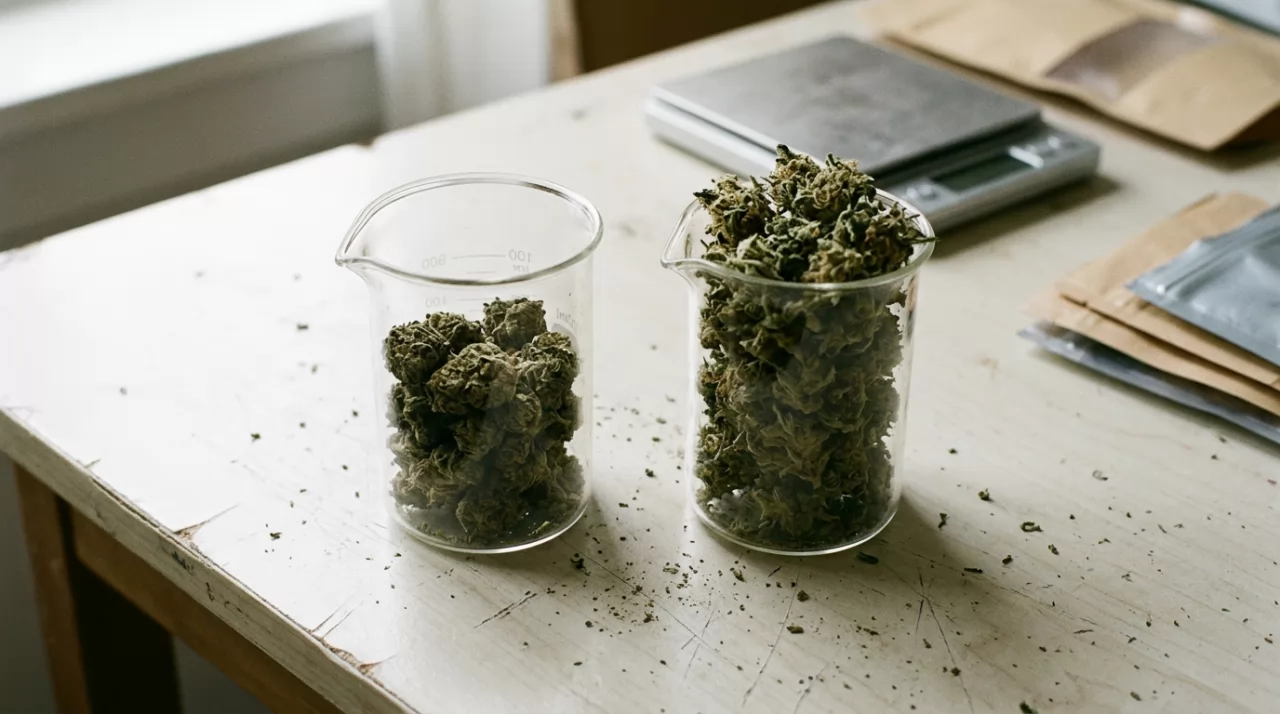
Density and cut change the fill volume
Tightly trimmed, dense buds pack into a small space. Fluffy or larger-cut product of the same weight needs noticeably more room. Product also settles after transport, so a bag that looks full on the filling table can look slack on the shelf. Test with your real product, not a stand-in, and keep a few of the lightest and densest batches you expect to sell.
Typical size ranges for 3.5g pouches
Dimensions vary by supplier and style, so treat the table as a starting point only. Confirm every figure against your own fill before ordering.
| Criterion | Flat pouch | Stand-up pouch with zipper |
|---|---|---|
| Typical width | Roughly 3 to 4 inches | Roughly 3 to 4.5 inches |
| Typical height | Roughly 4.5 to 6 inches | Roughly 5 to 7 inches |
| Bottom gusset | None | Usually a small fold-out base |
| Shelf behavior | Lies flat or hangs | Stands upright |
| Fill opening | Full width at top | Full width, reduced by gusset |
Stand-up styles usually run a little taller than flat ones for the same fill, because the gusset takes volume and the zipper takes height.
Step-by-Step: Sizing the Pouch to Your Product
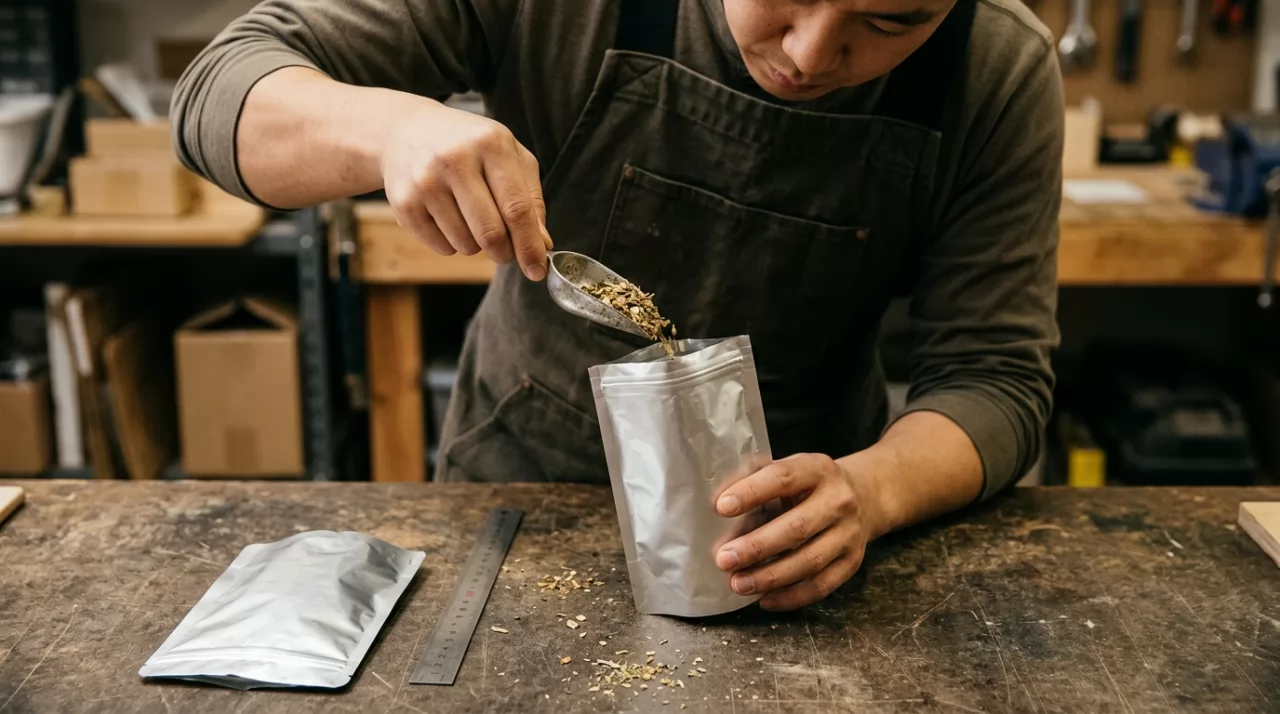
- Weigh and measure real fill volume. Weigh 3.5g of actual product, pour it into a graduated container or a loose test bag, and note the volume after a few taps. Caution: sizing from a jar or a spec sheet ignores settling, and you end up with a bag that fits on day one and bulges after shipping.
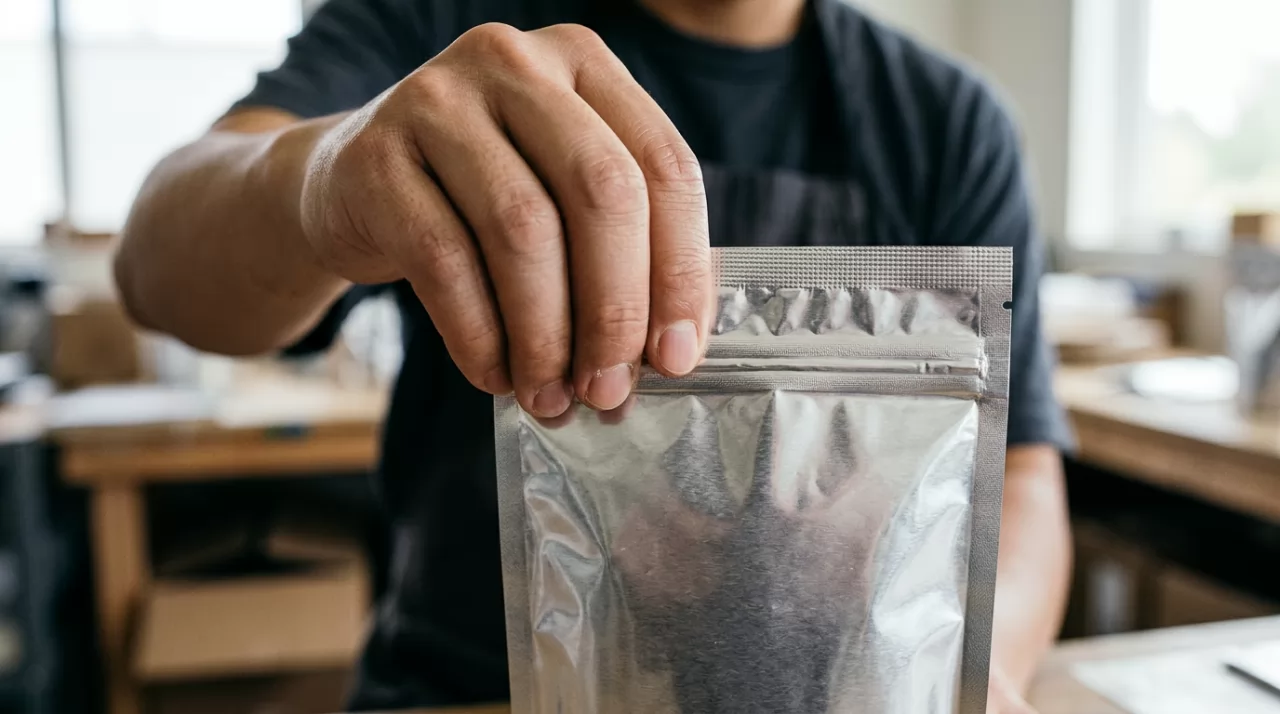
- Add headspace, seal width and zipper clearance. Side seals typically take a few millimetres each side, and the zipper sits below the top seal with a gap above it for tearing or cutting open. Leave room to fold a tear notch. Caution: a bag with no space above the zipper cannot be opened cleanly, and a tight bag cannot be closed over the product.
- Pick the style and read the width-to-height ratio. Compare a stand-up pouch with zipper against a flat pouch. Stand-up gives shelf presence and a larger print face. Flat is quicker to fill by hand and usually cheaper to ship. Caution: a tall, narrow bag tips over once it is half empty, so keep the base wide enough for the lighter fill, not just the full one.
- Draw a template and fill it. Cut a paper or film mock-up at the proposed dimensions, fill it, seal it and close it. Check that the product sits below the zipper and the bag stands without support.
Of the four, step 1 is where most resizing starts. A reading taken from a settled sample saves a second round of samples.
How Do You Choose Between Closure, Barrier and Child-Resistant Options?
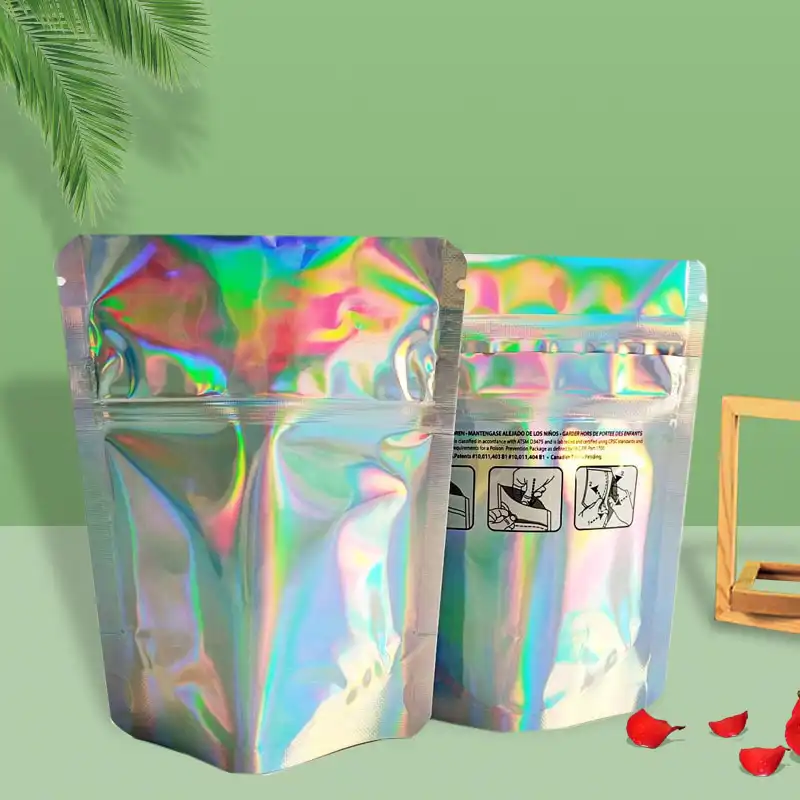
Closure and barrier choices change the usable size and the compliance load. A child-resistant zipper is wider and stiffer than a standard one, a window removes print area, and a high-barrier laminate changes how the bag folds and seals. Decide these before you lock dimensions.
- If your market requires child-resistant packaging, then size around a child-resistant ziplock mylar pouch from the start, since its zipper adds width and can narrow the fill opening.
- If odor control matters, then choose a foil or high-barrier laminate and ask for a seal check on finished bags before shipping.
- If you want shelf visibility of the product, then a window works, but it takes print area and can change fit.
- If the bag will hang on a peg, then add a hang hole and keep it clear of the top seal and artwork.
Rules for child-resistant packaging differ by state and market. Many references point to US 16 CFR 1700 (Poison Prevention Packaging Act protocols) for child-resistant testing, but whether it applies to your product depends on the category and jurisdiction, so confirm with your legal advisor. The common mistake is assuming a standard zipper is child-resistant, or that a bag passes without testing the finished bag. Closure type, film and fill all affect the result.
For a smell-proof resealable bag, the zipper seal matters as much as the film. Foil blocks light and most odor through the film, but an uneven zipper track leaks. Ask how seal quality is checked. At our plant, leak-proof testing happens before shipment, which is the kind of check worth requesting from any supplier.
Printing and Ordering Small Batches Without Overbuying
Print method sets your minimum. Digital printing starts at 1,000 pcs per design and suits launches, test runs and many designs. Gravure starts at 10,000 pcs per design and suits repeat orders at a lower unit price. Specialty structures can carry higher minimums, which are confirmed in the quote.
| Item | Digital printing | Gravure printing |
|---|---|---|
| MOQ per design (pcs) | 1,000 | 10,000 |
| Best for | Launches, many designs | Repeat orders |
| Plates or cylinders | No plates | Cylinder charge per color |
| Lead time after artwork approval | 7-15 days | 7-15 days |
Digital is the safer route while the size is still unproven. Shipping is quoted separately with the order.
Keep artwork off the zipper and seal zones, because print there can scuff or weaken the seal and gets hidden when the bag is closed. Also check image resolution before sending files; a free DPI checker is available for this. Low-resolution files print soft, and a reprint costs more than a second look.
A free sample of a similar bag lets you test fit before committing to a run. The buyer pays the courier.
Sample Checklist Before You Print
Run each test on a sample filled with your own product, not an empty bag.
- Fill the bag at your lightest and densest batch.
- Close the zipper and press the bag to check for seam stress.
- Stand it on a flat surface, full and half-empty.
- Place it on your shelf or in your display to check fit.
- Pack it in a carton and count how many fit.
If one of these fails, change the dimensions before artwork goes to print.
FAQ
Can one bag size fit both 3.5g and 7g lines?
Usually not well. A bag sized for 7g looks underfilled at 3.5g and can slump on the shelf. Separate sizes keep each line looking right and stacking neatly.
Does a bigger bag help the product look fuller?
No. Extra headspace makes the fill look smaller and lets product shift. A snug bag with room above the zipper looks fuller and holds its shape.
How much does artwork placement change the usable size?
It changes the usable print area, not the fill volume. Zipper, seal zones, windows, valves and hang holes all take space, so lay out artwork on the template for the finished bag.
What information should I send to get a size recommendation?
Send the product and fill per bag, a photo or link of a reference bag, and the size if known. Add quantity per design, number of designs, extras and target market.