
Why Pouch Size Matters More Than You Think
Size isn't just about fitting your product. It affects shipping costs, shelf presence, material spend, and even how customers perceive your brand. A bag that's too large screams "we cut corners," while one that's too tight looks cramped and risks bursting seals.
Working with brands across North America, we've found that the most common mistake is choosing dimensions based on guesswork rather than the actual product volume. That single error can quietly inflate your costs by 15–20% per order.
Here's the good news: once you understand a few core measurements, you'll be able to spec the perfect bag with confidence every time.
The 3 Measurements That Define Every Pouch
Before you can pick a size, you need to speak the language. Every flat-bottom or gusseted bag comes down to three numbers, and understanding how to choose stand up pouch size starts right here.
1. Width (W)
The left-to-right measurement of the front panel. This determines how much shelf "face" your branding gets.
2. Height (H)
Top to bottom, including or excluding the zipper depending on the manufacturer. Always confirm which method your supplier uses.
3. Gusset (G)
The bottom fold that expands to let the bag stand upright. A wider gusset means more volume and a sturdier base.
Quick tip: Capacity is driven mostly by the gusset and height working together—not width alone. Two bags with identical fronts can hold very different volumes.
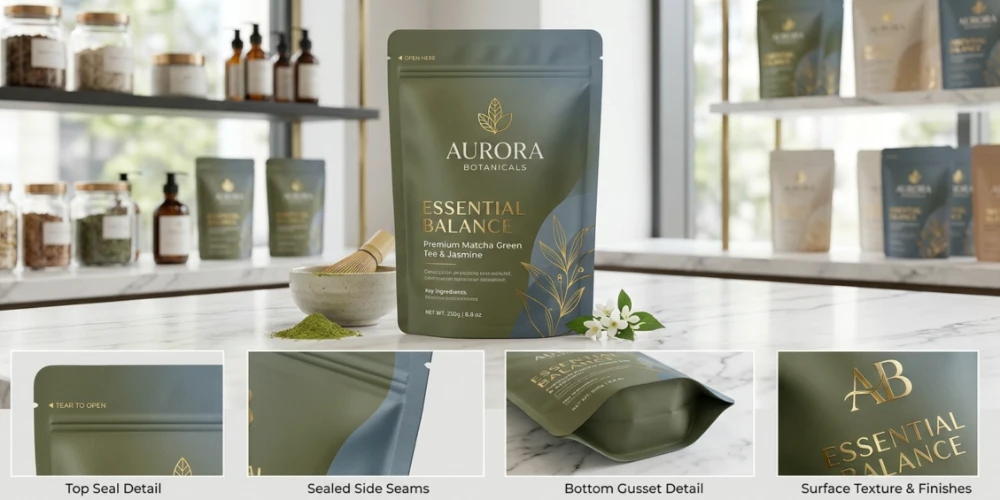
Standard Dimensions Chart: Your Starting Reference
Most products fall into predictable ranges. Below is a standard stand up pouch dimensions chart we share with brands who are just getting started. Use it as a launch pad, then fine-tune for your exact product.
| Size Label | Width × Height (mm) | Gusset (mm) | Approx. Capacity | Common Use |
|---|---|---|---|---|
| Extra Small | 100 × 150 | 50 | 50–100 g | Sample sachets, spices, tea |
| Small | 130 × 200 | 70 | 200–250 g | Coffee, nuts, supplements |
| Medium | 160 × 230 | 90 | 500 g | Granola, dried fruit, pet treats |
| Large | 200 × 300 | 100 | 1 kg | Protein powder, rice, coffee |
| Extra Large | 250 × 350 | 120 | 2–2.5 kg | Bulk pet food, flour, grains |
These figures reflect the most-requested specs we've tracked across thousands of custom orders. Your ideal numbers may land between two rows—and that's exactly where customization earns its keep.
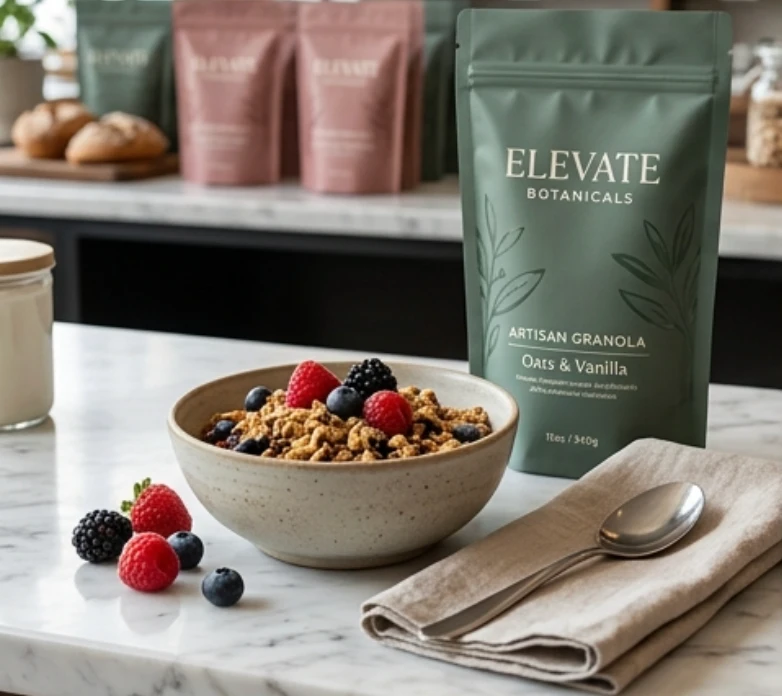
How to Match Pouch Size to Your Product
A pouch size guide with measurements only works if you connect those numbers to real-world product behavior. Here's how to think about it by product type.
Powders and Fine Granules
Powders settle and compact, so they need less headspace than you'd expect. Leave about 20% empty volume at the top for sealing room and to prevent puffing.
Whole Beans and Nuts
These have air gaps between pieces, so they fill volume quickly but weigh less. A 1 kg coffee bag and a 1 kg rice bag are rarely the same dimensions.
Liquids and Pastes
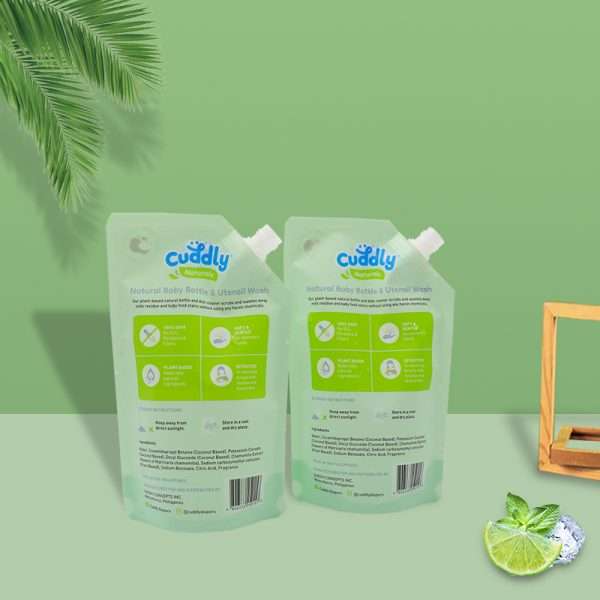
Weight concentrates at the bottom, so the gusset and seal strength matter most. Here our material expertise becomes critical for leak resistance.
Best Pouch Sizes for Food Packaging Categories
Different foods carry different expectations from buyers. Let's look at the categories where sizing decisions have the biggest impact on stand up pouch sizes for food packaging.
Coffee: Freshness Is Everything
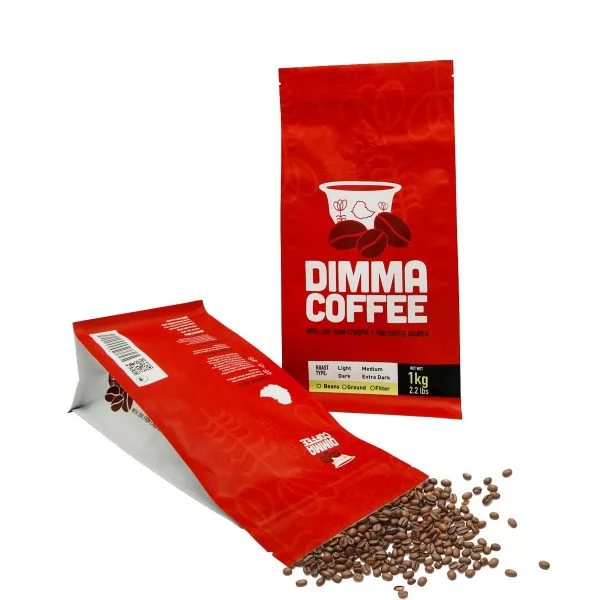
Coffee lovers judge a brand by aroma the moment they open the bag. The best stand up pouch size for coffee is typically the 250 g (130 × 200 mm) or 1 kg (200 × 300 mm) format, paired with a one-way degassing valve.
Because we hold FDA and ISO 22000 certifications, we recommend a high oxygen-barrier film for coffee—it locks in those volatile aromatics that fade fast in cheaper materials. Without that barrier, even perfectly roasted beans go stale in weeks.
Pet Food and Treats
Pet parents read ingredient panels closely, and they want to see freshness sealed in. Medium and extra-large gusseted bags work well, with resealable zippers that keep kibble crunchy between feedings.
Snacks and Dried Goods
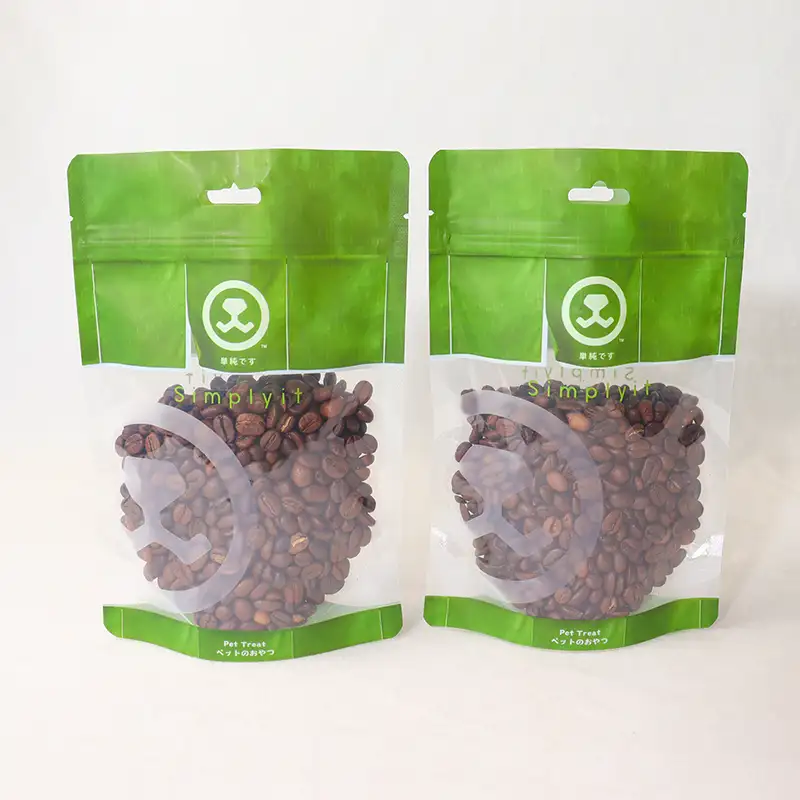
For granola, jerky, or dried fruit, a clear window can boost trust—shoppers love seeing the actual product. Match the bag height so the contents sit at roughly 80% fill for a generous, premium look.
Common Sizing Mistakes (And How to Dodge Them)
After two decades of producing flexible packaging, we've seen the same avoidable slip-ups again and again. Here's your quick checklist.
- Ignoring fill line: Always plan for 75–85% fill, never 100%.
- Forgetting the zipper zone: The top 15–20 mm is sealing real estate, not storage.
- Confusing weight with volume: A light, fluffy product needs a bigger bag than its weight suggests.
- Skipping a physical sample: Numbers on paper feel different in your hand.
- Overlooking shelf height: Measure your retail shelves before locking in the height.
As a manufacturer that has produced packaging for 20+ years, we always send pre-production samples so you can fill, seal, and shelf-test before committing to a full run.
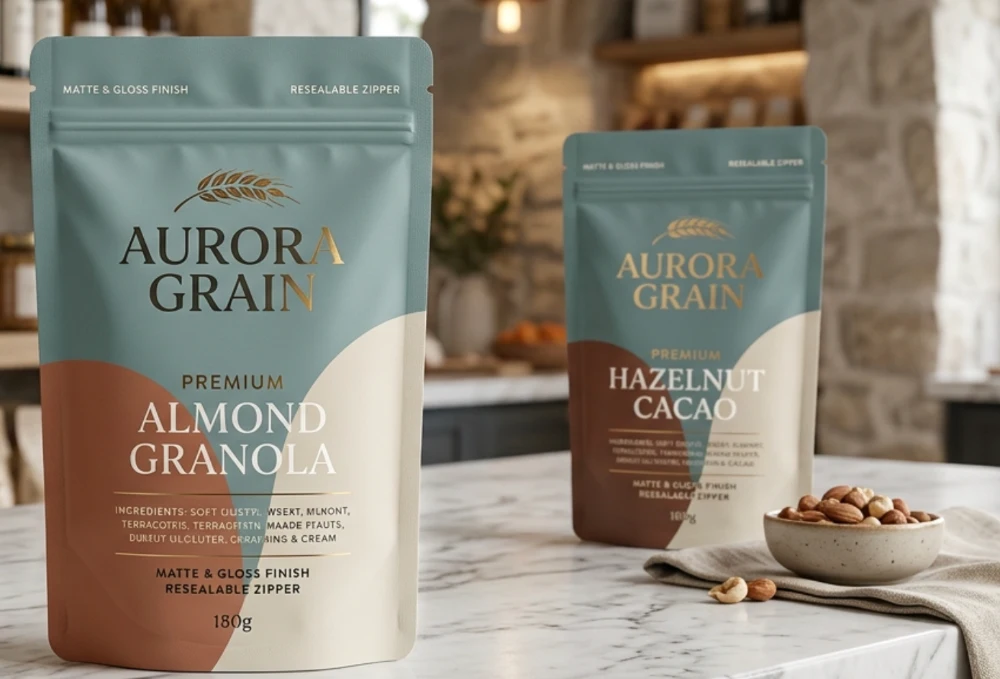
How to Measure Your Product for the Perfect Fit
Not sure where to start? Follow this simple sequence and you'll arrive at accurate dimensions every time.
- Weigh your finished product on a kitchen or lab scale.
- Pour it into a measuring container to find its true volume in milliliters.
- Add 20% for headspace and sealing room.
- Match that volume to the chart above, then adjust width for branding needs.
- Request a sample to confirm the feel and stand-up stability.
Our in-house design team often helps brands who only have a rough idea—send us your product weight and a photo, and we'll suggest dimensions that balance cost, shelf appeal, and protection.
Beyond Size: Factors That Influence Your Final Spec
Once dimensions are settled, a few related choices shape performance and price. Keep these on your radar.
| Factor | Why It Matters | Quick Guidance |
|---|---|---|
| Material thickness | Heavier products need stronger film | 120–150 micron for 1 kg+ |
| Barrier type | Protects against oxygen & moisture | Foil or metallized for coffee/snacks |
| Zipper style | Affects reseal and ease of use | Press-to-close for daily-use items |
| Finish | Shapes shelf impression | Matte for premium, gloss for vibrant |
In our 6,800㎡ cleanroom facility, these specs are produced under controlled conditions, which keeps barrier layers consistent batch after batch—critical when freshness is your selling point.
Putting It All Together
Choosing the right bag really comes down to three things: knowing your product's true volume, leaving smart headspace, and matching dimensions to both shelf and shipping realities. Get those right and everything else falls into place.
If you'd rather skip the guesswork, our design team can spec your packaging from a single product photo and weight. Reach us anytime at WhatsApp +86 182 1944 5665 or [email protected], and we'll help you land on dimensions that protect your product and look great on the shelf.
Frequently Asked Questions
How much headspace should I leave in a pouch?
Plan for roughly 15–25% empty space at the top. This gives room for sealing, prevents the bag from bursting, and accounts for product settling during shipping.
Is pouch capacity based on weight or volume?
Volume, not weight. A kilogram of fluffy coffee beans takes far more space than a kilogram of dense rice, so always measure the actual volume your product occupies.
What size works best for a 250 g coffee product?
A bag around 130 × 200 mm with a 70 mm gusset suits most 250 g whole-bean or ground coffee, especially when paired with a degassing valve to release CO2 without letting oxygen in.
Can I order a custom size between standard options?
Absolutely. Standard charts are starting points. Because every product is different, custom dimensions often deliver the best fit, reduce wasted material, and improve shelf presence.
Should I request a sample before a full production run?
Yes—always. A physical sample lets you fill, seal, and shelf-test the bag so you confirm stability and fit before committing. It's the single best way to avoid costly sizing surprises.