
Why Filling and Sealing Deserves Your Full Attention
Here's the thing nobody tells you early on: the pouch itself is only half the equation. A premium bag with a sloppy seal still leaks, goes stale, or fails on the shelf. Your filling and sealing process directly affects shelf life, freshness, and that crucial first impression when a customer opens their order.
Working with brands across North America, we've found that the most common mistake isn't choosing the wrong pouch—it's underestimating how much the closing step matters. A weak seal can undo months of product development overnight.
A pouch is a system: the film, the contents, the fill level, and the seal all work together. Get one wrong and the others can't save it.
Step 1: Match the Pouch to What You're Packing
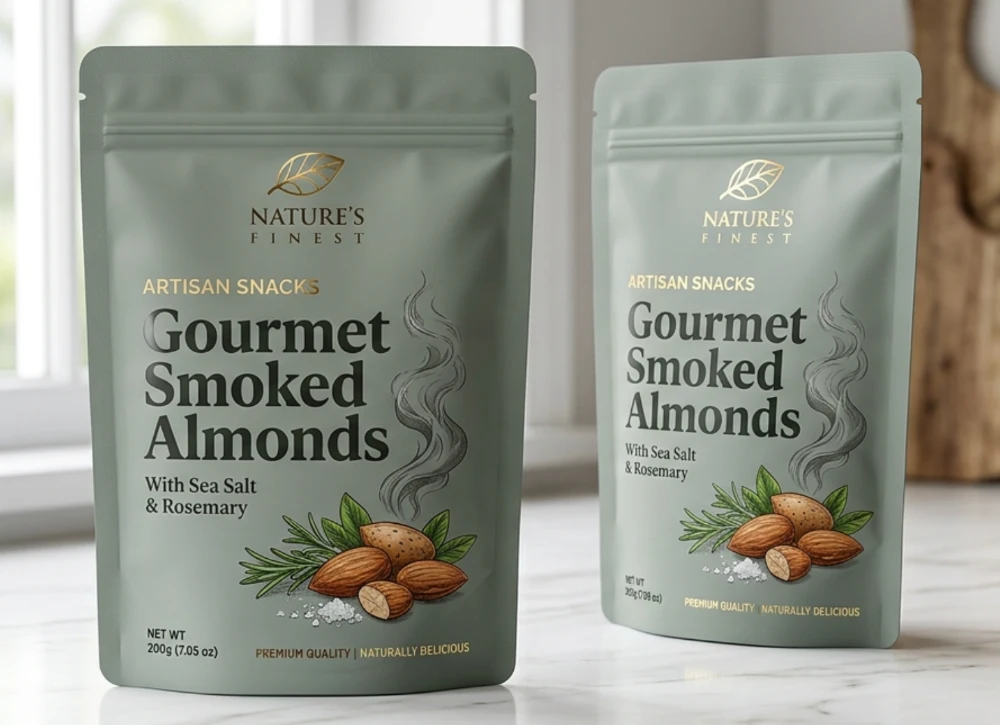
Before you fill anything, confirm your bag actually fits your product. Different foods demand different structures, and this decision shapes everything downstream.
- Dry granular goods (coffee, grains, snacks) — need a moisture and oxygen barrier.
- Powders (protein, spice blends) — require anti-static films and dust-tolerant sealing.
- Liquids and sauces — call for puncture-resistant laminates and often a spout fitment.
- Frozen items — demand films that stay flexible at low temperatures.
If you sell whole-bean coffee, for example, a one-way degassing valve plus a high oxygen barrier keeps those aromatic oils from oxidizing. Because we hold FDA and ISO 22000 certifications, we always recommend matching barrier specs to your specific product before a single bag gets printed.
Step 2: Choose Your Filling Method by Volume
Your monthly output decides how you fill. There's no shame in starting manual—plenty of beloved brands began exactly there. The trick is knowing when to level up.
| Method | Best Monthly Volume | Typical Speed | Upfront Investment |
|---|---|---|---|
| Hand filling (scoop/funnel) | Under 2,000 units | 2–4 pouches/min | Very low |
| Volumetric/auger filler | 2,000–20,000 units | 15–30 pouches/min | Moderate |
| Semi-automatic line | 20,000–80,000 units | 30–60 pouches/min | Higher |
| Fully automated rotary | 80,000+ units | 60–120 pouches/min | Significant |
Notice the overlap zones? That's intentional. If you're hovering near 2,000 units a month and growing fast, plan for the next tier now rather than scrambling later.
Step 3: Filling Techniques That Actually Work
Now to the hands-on part. Here's how to load product cleanly, whatever your scale.
For Dry Products and Snacks
Use a funnel sized to your pouch opening to keep product off the seal area. This is the golden rule: never let crumbs, oil, or powder land where the seal will form. Even a few grains can compromise the bond.
Tap the filled pouch gently on the table to settle contents and avoid trapped air pockets that throw off your weight count.
For Powders
Powders love to float and cling. Fill slowly, use a slightly longer funnel neck, and pause between scoops to let dust settle. Many brands add a static-reducing step here so particles don't drift up to the seal zone.
For Liquids and Viscous Products
Spouted pouches are your friend. Fill through the spout fitment, leaving headspace so the product doesn't overflow during capping. Keep the threads clean—a sticky spout means a leaky cap.
Step 4: Leave the Right Amount of Headspace
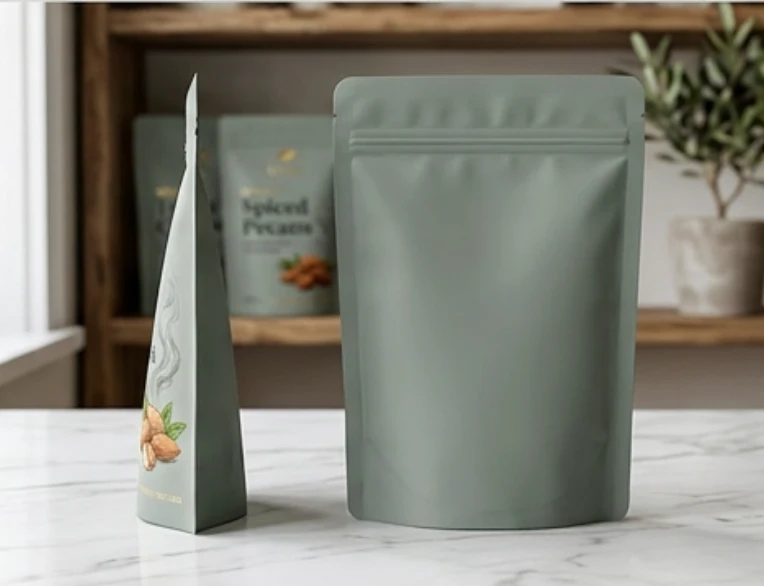
Headspace is the empty gap between your product and the seal. Too little and the pouch bulges and stresses the seam; too much and the bag looks half-empty on the shelf. Both hurt you.
- Dry goods: 15–20% headspace for settling and a clean seal.
- Coffee with degassing valve: 20–25%, since beans release CO₂.
- Liquids: 10–15% to allow for capping movement.
Customers genuinely judge a brand by how "full" a pouch feels. A bag that slumps signals poor value, even when the net weight is spot-on.
Step 5: The Sealing Stage—Where Most Mistakes Happen
This is the moment everything comes together. A good seal is consistent in temperature, pressure, and dwell time across the entire width of the pouch.
Pick Your Sealing Equipment
| Sealer Type | Good For | Seal Width |
|---|---|---|
| Impulse hand sealer | Startups, small batches | 2–5 mm |
| Constant-heat sealer | Thicker laminates | 5–10 mm |
| Vacuum chamber sealer | Oxygen-sensitive foods | 8–10 mm |
| Continuous band sealer | Higher-volume lines | 8–12 mm |
Dial In Your Three Variables
Every reliable seal comes down to temperature, pressure, and time. Run test seals on scrap pouches first. A common starting range for standard laminates is 140–180°C, but your exact film dictates the sweet spot.
In our 6,800㎡ cleanroom facility, we test seal strength on every production run, and the films we ship include recommended sealing parameters—so you're not guessing on your factory floor.
Step 6: Verify Your Seal Before Shipping a Single Box
Trust me on this one—seal failures discovered by customers cost far more than the few minutes of quality checking. Build these checks into your routine.
- Visual inspection: the seal should be smooth, even, and free of wrinkles or burn marks.
- Tug test: gently pull the seal edges; they shouldn't peel apart.
- Squeeze test: press the filled pouch—no air or product should escape.
- Channel-leak check: hold the seal to light to spot gaps where product residue blocked the bond.
For oxygen-sensitive products like coffee or nuts, periodic batch sampling for residual oxygen gives you hard data on freshness, not just a feeling.
Common Problems and Quick Fixes
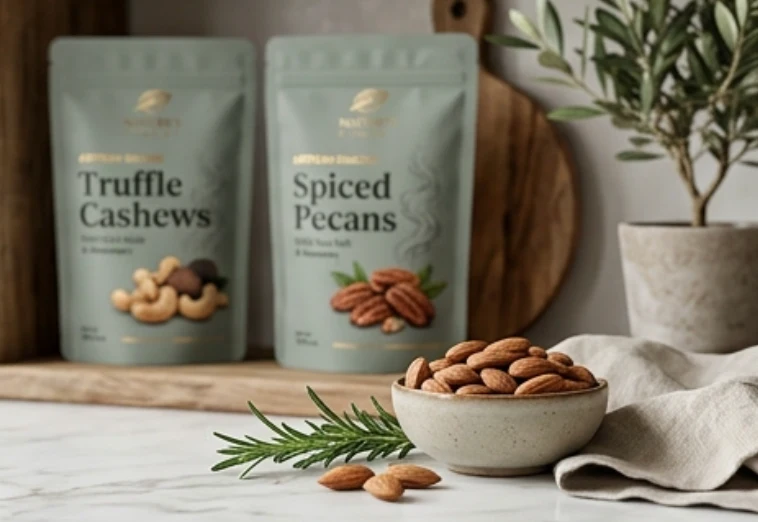
Even seasoned packers hit snags. Here's a troubleshooting cheat sheet to keep handy.
| Problem | Likely Cause | Fix |
|---|---|---|
| Seal won't bond | Temperature too low or product in seal zone | Raise heat slightly; clean seal area |
| Burned or brittle seal | Temperature too high or dwell too long | Lower heat; shorten time |
| Wavy, uneven seal | Inconsistent pressure | Check sealer alignment and bar wear |
| Pouch tears at seam | Wrong film thickness | Upgrade to a thicker laminate |
| Product looks stale fast | Insufficient barrier | Switch to higher-barrier structure |
Designing Pouches That Are Easy to Fill and Seal
Here's an insight many brands learn the hard way: the right bag design makes your whole operation smoother. A wider gusset, a clean seal margin, and the correct film for your filler can shave real time off every batch.
Our in-house design team often helps brands who only have a rough idea of what they want—a flavor, a shelf vibe, a target audience. We translate that into a structure that prints beautifully and runs cleanly through your equipment.
As a manufacturer that has produced packaging for more than 20 years, YLTPACK builds these practical details in from the start—gusset depth, seal-area smoothness, and notch placement—so your team isn't fighting the bag during production.
Matching Packaging to Your Industry's Real Concerns
Different categories carry different stakes, and your packaging should reflect that.
- Coffee: aroma retention and oxygen barriers are everything—stale coffee earns refunds fast.
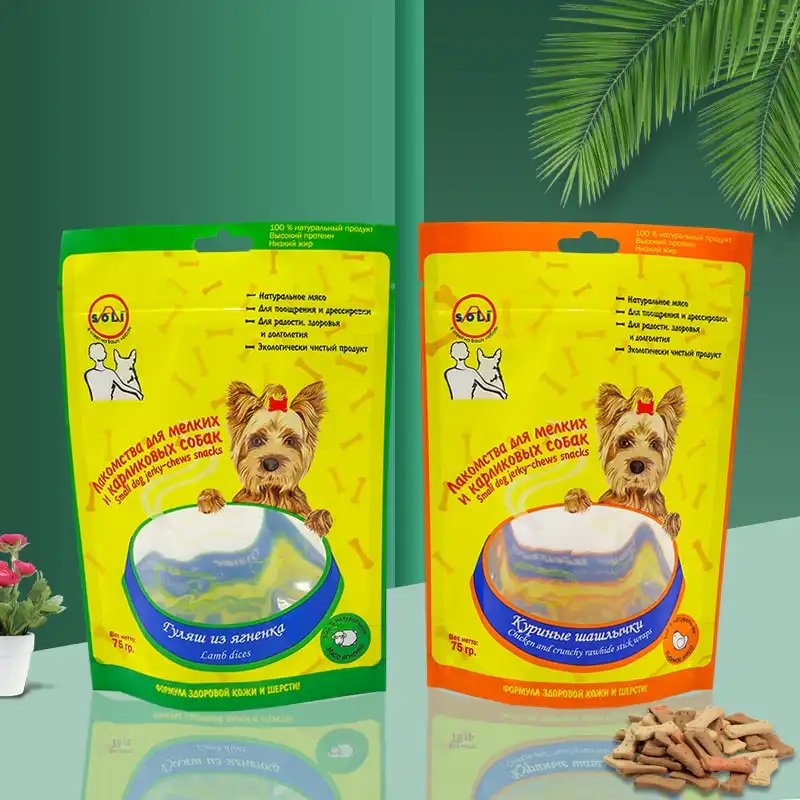
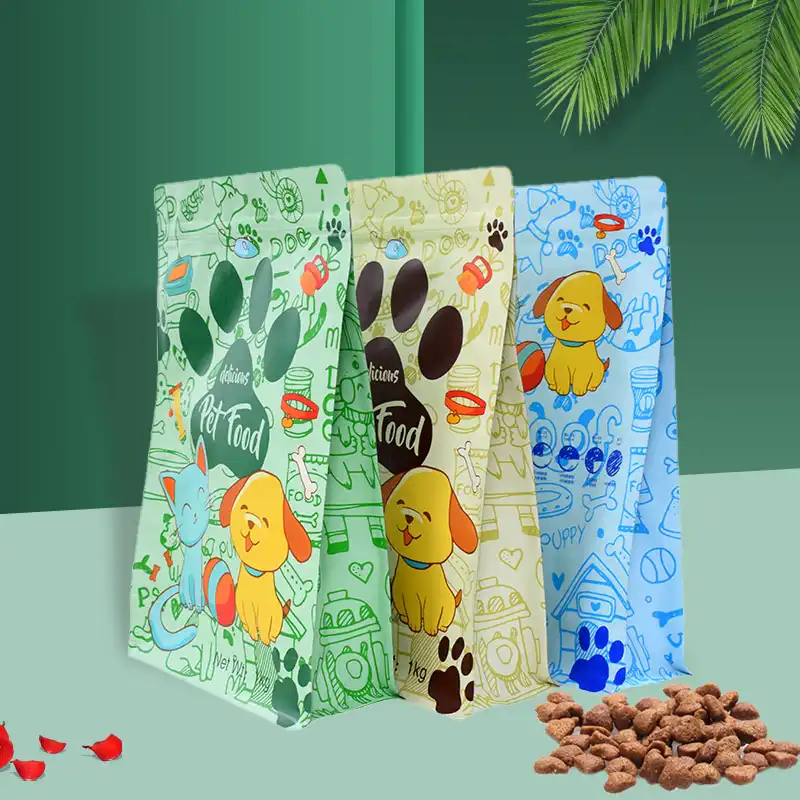
- Pet treats: owners scrutinize ingredient lists, so clear windows and resealable closures build trust.
- Snacks: the satisfying "crinkle" and a crisp seal signal freshness at first touch.
- Rice and grains: the bag must handle stacking weight without seam failure during transit.
When your packaging speaks to these specifics, customers sense you understand their needs—and that loyalty compounds over time.
Putting It All Together
Mastering the fill-and-seal workflow isn't complicated once you respect the basics: match the pouch to your product, keep the seal zone spotless, dial in temperature and pressure, and verify before you ship. Do those four things consistently and your reject rate plummets.
As your volume grows, the right packaging partner makes a real difference. With FDA, ISO 9001, ISO 22000, and GRS certifications behind every order, YLTPACK supplies bags engineered to run smoothly on your line and protect what's inside. Reach out anytime at [email protected] or WhatsApp +86 182 1944 5665 to talk through your specific product and setup.
Frequently Asked Questions
What temperature should I use to seal stand up pouches?
Most standard laminate films seal well between 140°C and 180°C, but the exact figure depends on your film thickness and structure. Always run test seals on scrap bags first, and ask your supplier for the recommended parameters that match your specific material.
How do I stop my pouches from leaking at the seal?
Leaks almost always come from contamination in the seal zone or incorrect heat settings. Keep product, oil, and powder away from the top of the bag, confirm even pressure across the sealer bar, and run a squeeze test on each batch before packing.
Can I fill stand up pouches by hand when I'm just starting out?
Absolutely. Manual filling with a funnel and an impulse sealer works well under roughly 2,000 units a month. Once you cross that threshold or start growing quickly, a volumetric filler and a better sealer save serious time and reduce errors.
How much headspace should I leave inside the pouch?
For dry goods, aim for 15–20% empty space so contents settle and the seal stays clean. Coffee with a degassing valve needs a bit more, around 20–25%, while liquids do well with 10–15% to allow room during capping.
Do I need different pouches for liquids versus dry products?
Yes. Liquids require puncture-resistant laminates and usually a spout fitment, while dry goods prioritize moisture and oxygen barriers. Sharing your exact product and fill method with your packaging partner ensures the structure is built for the job from day one.