
Ever Wondered How That Standing Bag on the Shelf Actually Comes to Life?
You've seen them everywhere — coffee, granola, pet treats, protein powder, all standing upright in those sleek, resealable bags. If you're sourcing packaging for your brand, understanding the stand up pouch manufacturing process helps you ask smarter questions and avoid costly surprises. It's the difference between a bag that fails on the shelf and one that sells.
I've spent over 15 years in flexible packaging, and I'll walk you through every stage in plain language. No jargon, no fluff — just what actually happens between your design file and the finished bag in your warehouse.
The Big Picture: From Film Roll to Finished Bag
Before we dive deep, here's the journey at a glance. Most people imagine "printing a bag" as one step. In reality, it's a chain of carefully sequenced operations, each affecting quality.
| Stage | What Happens | Typical Lead Time |
|---|---|---|
| 1. Design & Prepress | Artwork prep, color proofing, plate making | 3–7 days |
| 2. Printing | Image transferred onto film rolls | 2–4 days |
| 3. Lamination | Multiple film layers bonded together | 1–2 days |
| 4. Slitting & Curing | Rolls trimmed, adhesive cured | 2–5 days |
| 5. Bag Making | Film formed, sealed, gusseted, zippered | 2–4 days |
| 6. QC & Packing | Inspection, counting, boxing | 1–2 days |
As a manufacturer that has produced packaging for 20+ years, we've learned that delays usually happen at stage one — not the machines. Getting your files right early saves weeks later.
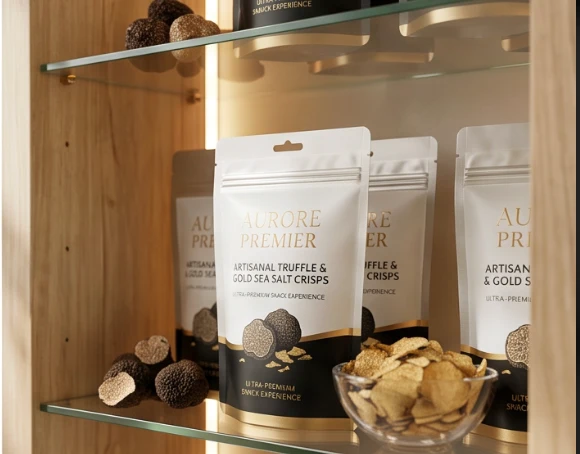
Step 1: Design & Prepress — Where Your Bag Is Born
This is where your idea becomes a printable file. It sounds simple, but it's where most problems start. Colors that look perfect on screen can shift dramatically on plastic film.
What Actually Happens Here
- Artwork review: Checking resolution, bleed, and text placement
- Color matching: Translating your brand colors to Pantone references
- Plate or cylinder making: Creating the physical printing tools
Our in-house design team often helps brands who only have a rough idea — a logo and a vibe. Working with brands across North America, we've found the most common mistake is submitting low-resolution logos that pixelate when enlarged.
A Quick Tip on Color
Always request a physical proof before mass production. A screen can't show how matte versus glossy finishes change how your color reads. This single step prevents the most heartbreaking reorders.
Step 2: Printing — Putting Your Brand on Film
Now your design gets transferred onto rolls of film. There are two main printing methods, and which one fits depends on your order size and design complexity.
| Method | Best For | Color Range | Setup Cost |
|---|---|---|---|
| Rotogravure | Large runs (50,000+ bags) | Up to 10 colors | Higher upfront |
| Digital | Small to mid runs, samples | Full CMYK + more | Low / none |
If you're a startup testing the market, digital printing lets you order smaller batches without committing to expensive cylinders. Once volume grows, gravure becomes more economical per unit. Here's how a stand up pouch is made step by step from this point — each layer is built with intention.
Step 3: Lamination — The Secret to a Strong, Protective Bag
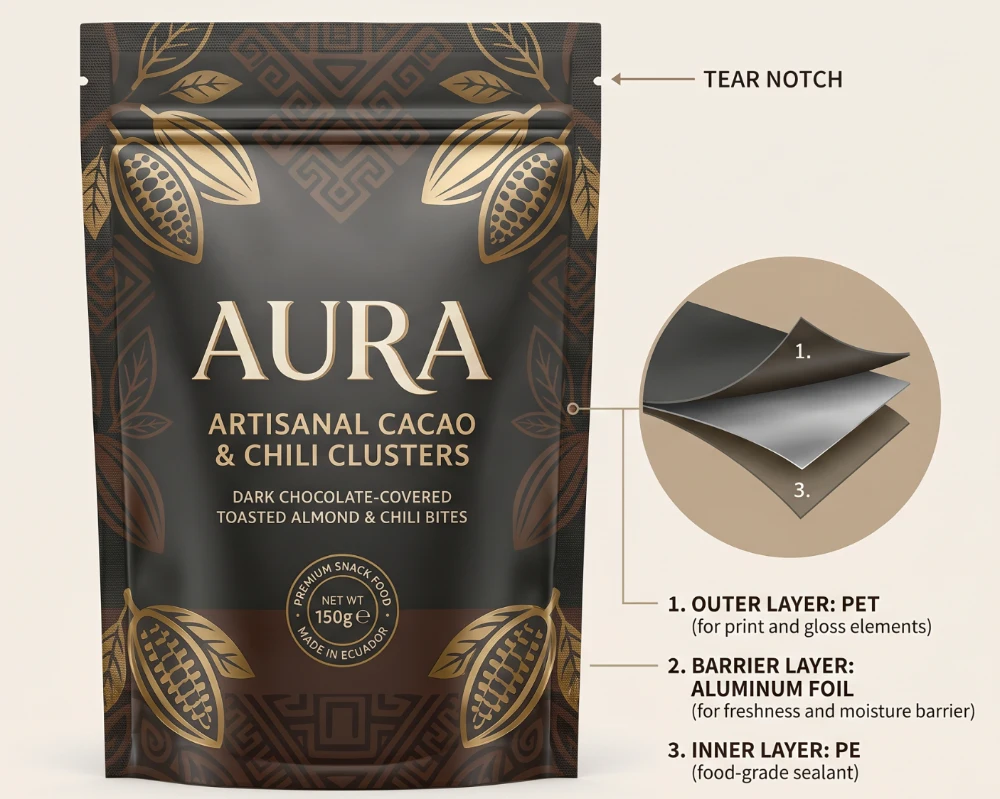
This is the hidden hero. A pouch isn't one piece of plastic — it's several thin films bonded together, each doing a specific job. The stand up pouch lamination and sealing process determines whether your product stays fresh or spoils.
Why Layers Matter
Think of it like a sandwich. Each layer adds a property:
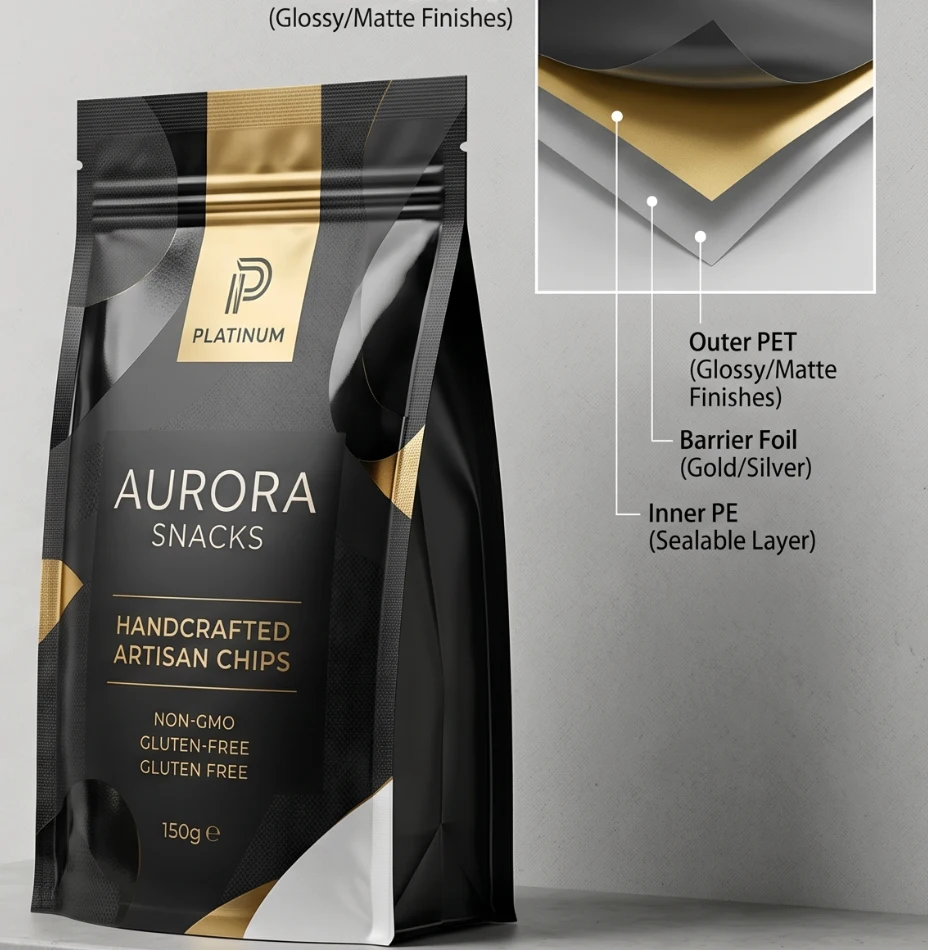
- Outer layer (PET): Carries the print, adds stiffness and gloss
- Barrier layer (foil or metallized film): Blocks oxygen, light, and moisture
- Inner layer (PE): Provides the heat-sealable surface
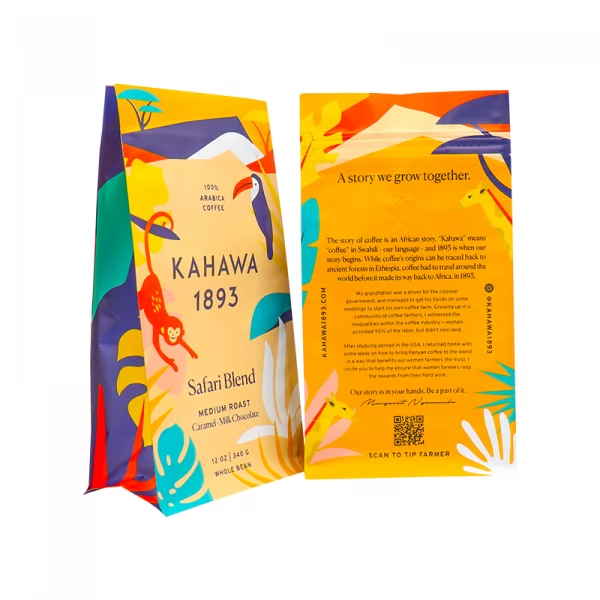
For coffee brands, that barrier layer is everything. Oxygen is the enemy of aroma — without a strong oxygen barrier, those roasted notes fade within days. We often add a one-way degassing valve so fresh-roasted beans can release CO2 without letting air in.
The Sustainability Angle
More brands now ask for recyclable mono-material structures. Because we hold GRS and ISO 22000 certifications, we recommend recyclable options early — but only where they won't compromise shelf life. It's an honest trade-off worth discussing.
Step 4: Slitting, Curing & Quality Checks
After lamination, the bonded rolls need time to "cure" so the adhesive fully sets. Skipping this causes delamination — those ugly bubbles you sometimes see in cheap bags.
In our 6,800㎡ cleanroom facility, rolls cure in a controlled environment before being slit to the exact width your bag size requires. Cleanliness matters most for food and supplement packaging, where contamination is a real risk.
Step 5: Bag Making — Where Flat Film Becomes a Standing Pouch
This is the magic moment. A flat roll of film transforms into a three-dimensional bag that stands on its own. The stand up pouch manufacturing machine process folds, seals, and shapes the film in one continuous operation.
What the Machine Does
- Forms the bottom gusset — the W-shaped fold that lets the bag stand
- Heat-seals the side seams — creating leak-proof edges
- Inserts the zipper — if you want resealability
- Cuts and stacks — separating individual bags
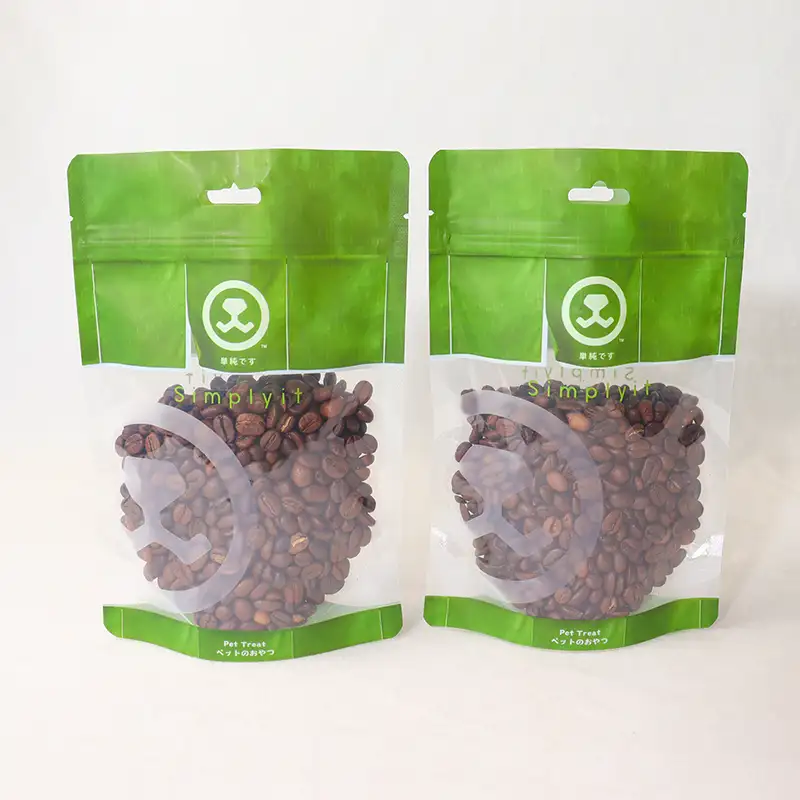
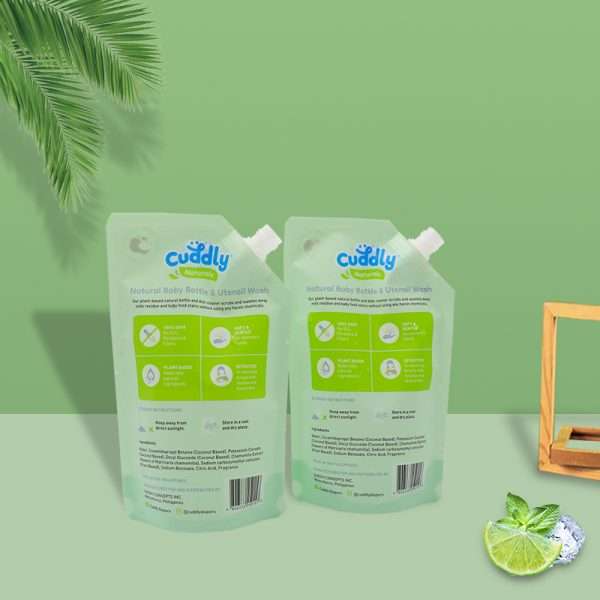
Add-ons like tear notches, hang holes, round corners, and spouts are also applied here. For pet food brands, a sturdy bottom gusset and strong seals matter because shoppers increasingly want larger, stackable bags they can reseal between feedings.
Customization That Sells
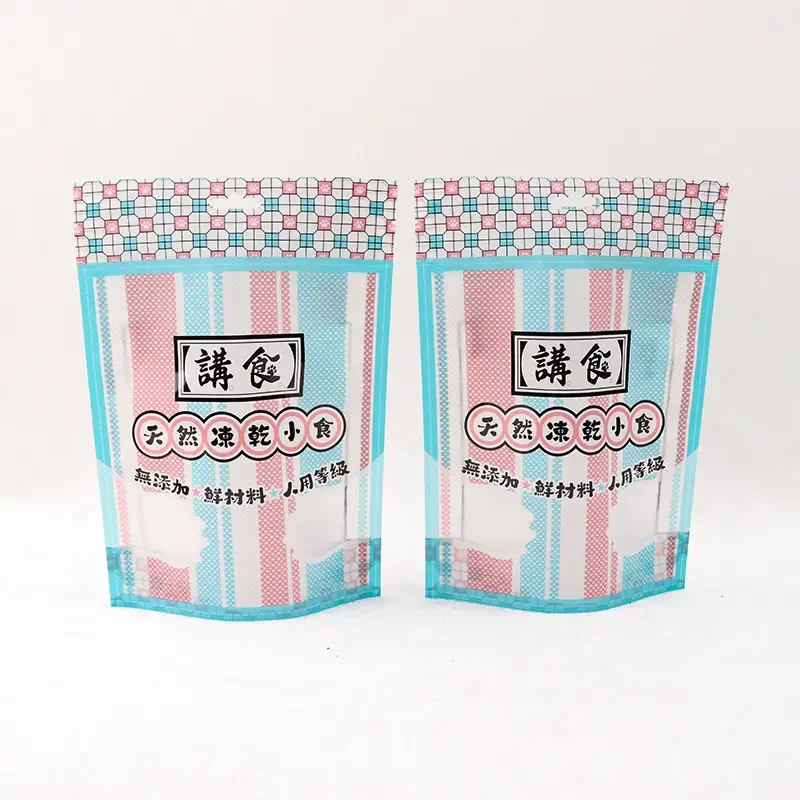
For beauty and supplement brands, the finish is part of the product. A soft-touch matte laminate or a spot-gloss logo turns an ordinary bag into an unboxing moment worth sharing online. The custom stand up pouch production process is where your brand personality finally becomes tangible.
Step 6: Inspection, Counting & Packing
Before anything ships, every batch goes through quality control. This is where reputable suppliers separate themselves from the rest.
| QC Checkpoint | What We Verify |
|---|---|
| Seal strength | Burst and tensile testing on samples |
| Print accuracy | Color, registration, text legibility |
| Dimensions | Width, height, gusset depth |
| Zipper function | Open/close cycles, sealing |
| Barrier integrity | No pinholes or delamination |
Because we hold FDA and ISO 9001 certifications, food-contact safety isn't optional — it's documented at every step. Ask any supplier for their test reports; a confident one will hand them over without hesitation.
How Automation Changes the Game
Modern facilities run highly automated lines that reduce human error and keep quality consistent across hundreds of thousands of units. The automated stand up pouch packaging manufacturing process means tighter tolerances and faster turnaround than manual operations could ever achieve.
What does this mean for you? More predictable lead times and fewer rejects. According to flexible packaging industry data from 2024, automated quality systems can cut defect rates by more than half compared to manual inspection alone.
Choosing the Right Partner: A Quick Checklist
Now that you understand how your bag is made, here's what to verify before placing an order:
- Certifications: FDA, ISO, and GRS for recycled content claims
- Sampling: Will they provide physical proofs before bulk runs?
- Design support: Can they fix your files if needed?
- Material options: Do they offer recyclable structures?
- Transparency: Are lead times and QC processes clearly explained?
If you want a second opinion on your packaging structure or artwork, the YLTPACK team is happy to review your files. Reach us on WhatsApp at +86 182 1944 5665 or email [email protected] — we'll tell you honestly what works and what we'd adjust.
The Bottom Line
A great pouch isn't an accident. It's the result of careful film selection, precise printing, proper curing, and rigorous testing — every stage building on the last. When you understand these steps, you can spot a quality supplier and avoid the bags that crack, fade, or leak.
The brands that win on the shelf are the ones who treat packaging as part of their product, not an afterthought. Get the structure right, and your bag does the selling for you.
Frequently Asked Questions
How long does it take to produce a custom order from scratch?
For a first-time custom run, expect roughly 12–20 days after artwork approval, depending on printing method and complexity. Repeat orders are faster since plates and proofs already exist.
What's the difference between gravure and digital printing for my bags?
Gravure suits large volumes with lower per-unit cost but higher setup. Digital is ideal for smaller batches, samples, or designs that change often, with little to no setup investment.
Can I get a recyclable stand up pouch without losing shelf life?
Often yes — mono-material PE structures now offer solid barriers for many products. We recommend testing your specific item, since high-oxygen-sensitive goods like coffee may need extra evaluation.
Why do some bags delaminate or bubble over time?
Usually it's skipped or rushed curing after lamination, or poor adhesive quality. Proper curing in a controlled environment prevents this, which is why we never shortcut that stage.
Do I need a physical sample before mass production?
Absolutely. Screen colors rarely match printed film exactly, and finishes change how colors read. A physical proof protects you from expensive reprints and disappointing results.