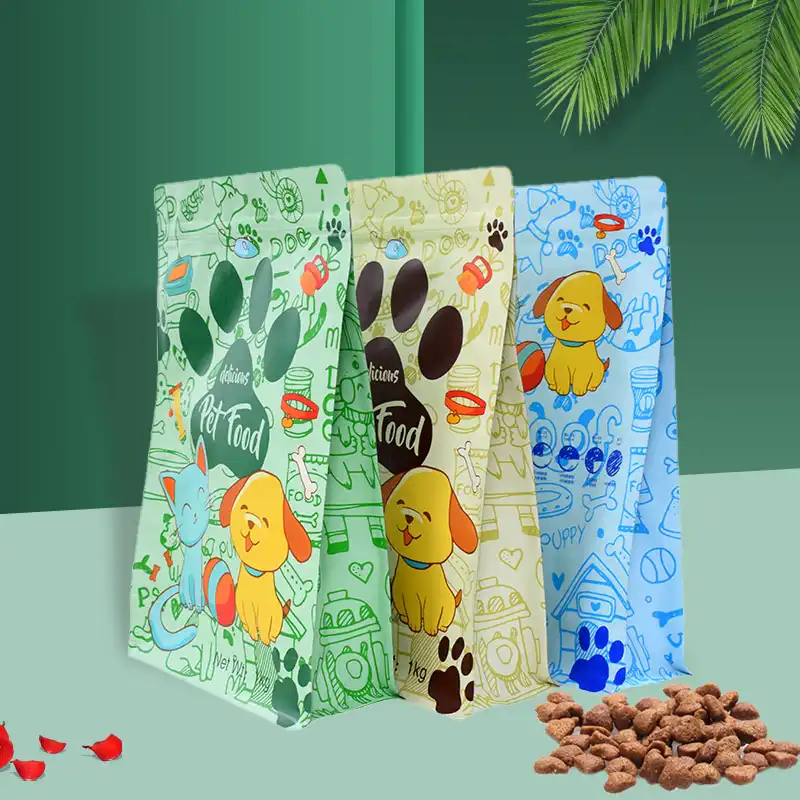

A mylar bag seal is a strip of fused plastic about a few millimetres wide, and it carries the whole job of keeping air out. If that strip is wavy, dusty or half-melted, the bag is just a pouch with a hole you can't see. The checks below show how to get it right, and how to tell when it isn't.
What a Good Seal Looks Like
A good seal on a mylar bag is flat, continuous and the same width along its whole length. The inner sealant layers have melted into one piece, with no channels, folds or trapped product, and the edge does not peel apart under hand pressure. Mylar here means a metallised or foil-laminated polyester film bag with a heat-seal layer inside.
Visual signs of a sound seal
Look at the seal in good light. The width should be even. The colour change from the heat should be uniform, with no pale patches where heat did not reach and no brown or glossy burn marks where it reached too far.
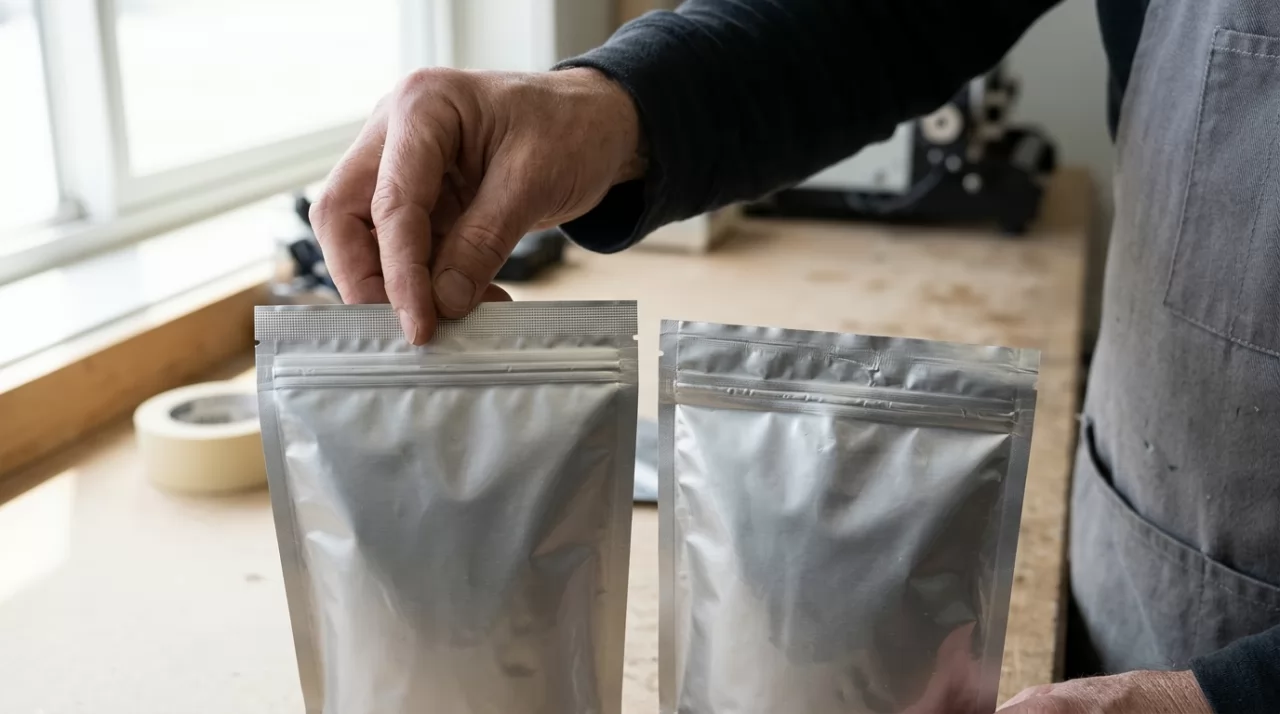
Bubbles mean trapped air or overheated film. Folds mean the bag was not flattened before sealing. Specks of powder or smears of oil inside the strip mean contamination, and those spots are the ones that leak later.
The pull test
Seal a sample pack, let it cool fully, then pull the two sides apart across the seal with moderate force. A good seal holds, or the film itself tears before the seal opens. A seal that peels open cleanly along the line was never fused.
Read the failure. A seal that opens in one spot points to a wrinkle or a speck of product. One that opens along its whole length points to heat or dwell time. Squeeze a filled sample gently and listen at the seal for air escaping, which catches channels that the eye misses.
Why Mylar Seals Fail, and Where the Trouble Starts
Most failed seals trace back to the sealing step, not the bag. Contamination in the seal zone, wrinkles and the wrong heat account for the large majority of problems you will meet. Swapping to a different bag rarely fixes a process fault.
Product in the seal area
Heat sealing works because the two inner sealant surfaces melt and join. Anything sitting between them blocks that. Fine powders such as flour, sugar or protein mixes, oily residue from nuts or jerky, and moisture from damp product all stop the layers from fusing properly.
The seal may look fine and still hold weakly. That is the dangerous version, because it passes a glance and fails on a shelf or in a storage room months later.
Heat, pressure and dwell time
Three variables work together: temperature, pressure and the time the jaws stay closed. Too little of any of them leaves a weak bond that peels. Too much burns the sealant, shrinks or distorts the polyester, and can thin the film at the edge of the seal until it cracks.
Thicker film and heavier laminates need more heat or more time than thin ones. Settings that worked on one bag do not carry over to another structure. Treat every new bag as a new test.
Which Sealing Tool Fits Your Volume?
An impulse sealer suits most people sealing mylar bags repeatedly, whether repackers or small retailers. Constant-heat and band sealers suit steady throughput with uniform bags. A flat iron hair straightener works for a handful of bags, and nothing beyond that.
Impulse sealer
An impulse sealer is a machine that heats a wire or ribbon only while the jaws are closed, then cools under pressure before opening. That cooling stage matters. The seal sets while clamped, so it does not stretch or pull apart as you lift the bag.
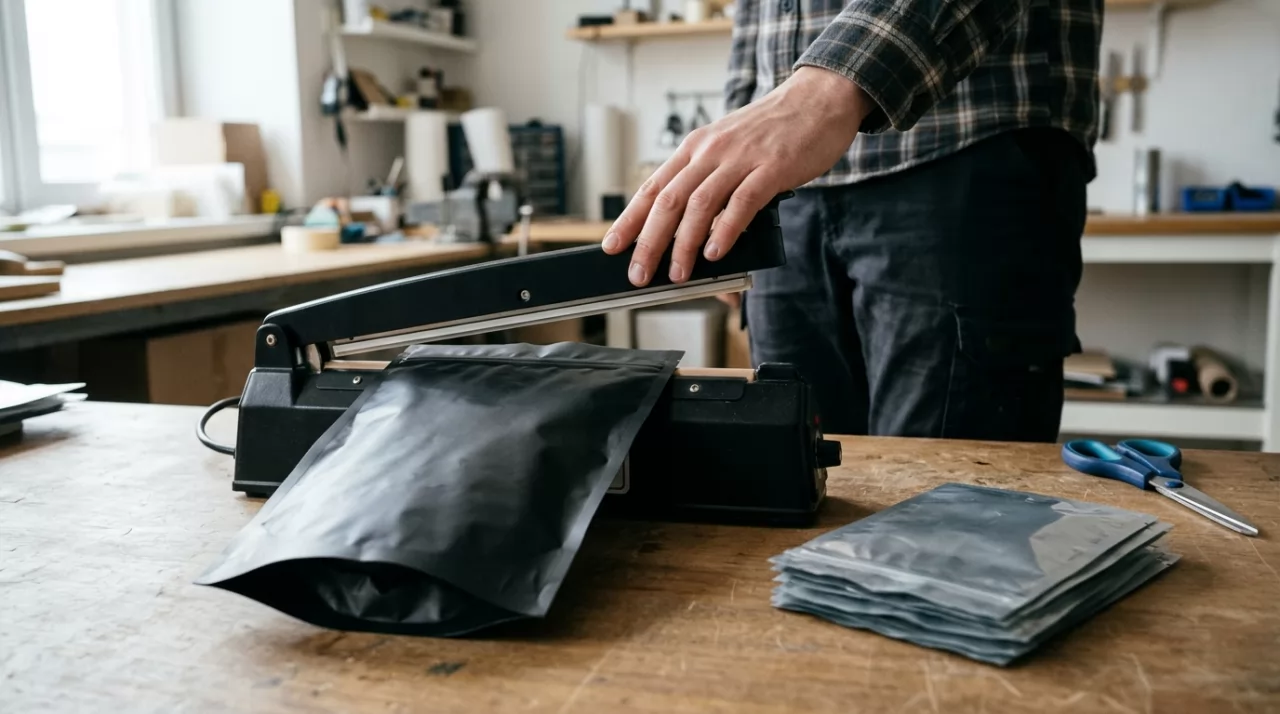
You control time and pressure, and the result repeats from bag to bag. Check the seal width: many bench models are narrow, and some do not reach through thick laminates. Dual-wire models give a wider seal and are usually the safer choice for heavier film.
Constant-heat and band sealers
A constant-heat sealer keeps its jaws hot all the time. You hold the bag in and release when the seal is done. It is fast, but it has no built-in cooling, so you must handle the bag carefully. Band sealers run bags through on a conveyor between heated bands, then cooling bands, which suits lines with consistent bag size and fill height.
They cost more to set up and reward consistency. If your bag sizes vary a lot, the settings need to be revisited each change.
Flat iron hair straightener sealing
Sealing with a flat iron hair straightener is the home workaround many people use for a few bags. It can work. The plates are usually narrow, the temperature is hard to read, and the pressure comes from your hand, so the result varies.
Keep to small, thin-film bags. Put a strip of parchment or a thin cloth between the plates and the bag so it does not stick. Run the iron along the seal slowly and evenly, then let the seal cool flat. For anything you plan to store for years, or to sell, use a sealer you can set and repeat.
Sealing Mylar Bags Step by Step
The order matters more than the speed. Each step protects the next, and skipping the cleaning or flattening step is where most poor seals begin.
- Fill the bag, leaving enough empty space at the top for the seal and a margin of clean film above it. Do not overfill, because bulging bags pull the seal under tension.
- Keep the inside of the neck clean. Wipe it with a dry paper towel if any powder or oil has touched it.
- Press out excess air by hand if you are not using an absorber, working from the bottom upward.
- Flatten the top edge. Smooth the film with your fingers so both layers lie together with no folds or creases.
- Place the top edge in the jaws, square and centred on the heating element.
- Seal using your tested setting, hold for the full cycle and keep the jaws closed through cooling on an impulse machine.
- Let the seal cool before you move or stack the bag.
- Inspect the seal and check it against the signs above.
Set your settings on scrap bags first. Seal an empty bag of the same structure, pull-test it, then adjust one variable at a time. Changing heat and time together tells you nothing about which one fixed the problem.
For a safety margin, seal twice in parallel lines about a few millimetres apart if your tool allows. A second seal does not replace a good first one, but it gives you a backup if a small defect slips through. And if the neck has a zipper, seal above it, not across it. A sealer jaw closing on zipper teeth gives a lumpy, uneven strip.
Leave cut-off room. If you cut the top off later to reuse the bag, the new seal needs fresh film below the old one. Plan the bag height with that in mind.
Sealing With Oxygen Absorbers for Long-Term Food Storage
An oxygen absorber is a small sachet, typically iron-based, that removes oxygen from the air inside a sealed bag by reacting with it. Sealed in a mylar bag, it lowers oxygen to a level that slows oxidation and the growth of many aerobic pests and spoilage organisms. It only works if the bag holds a good seal for the whole storage period.
Sizing the absorber
Absorber capacity is rated in cubic centimetres (cc) of oxygen. The size you need depends on the volume of air left in the bag, not on the weight of the food. Air is roughly one fifth oxygen, so the absorber must remove that share of the headspace plus the oxygen trapped between the particles of the product.
Loose-packed foods such as pasta or popcorn hold more air between pieces than dense foods such as flour or rice. Supplier sizing charts exist, and they are a better guide than guessing. When unsure, size up a little, since an absorber that is too large does no harm in a dry, sealed pack.
Working fast and leaving no gaps
Absorbers begin reacting as soon as they leave their packaging. Open only what you can use in a short working session and keep the rest in a sealed container or a glass jar with a tight lid. Have the bags filled and the sealer warm before you open the absorbers.
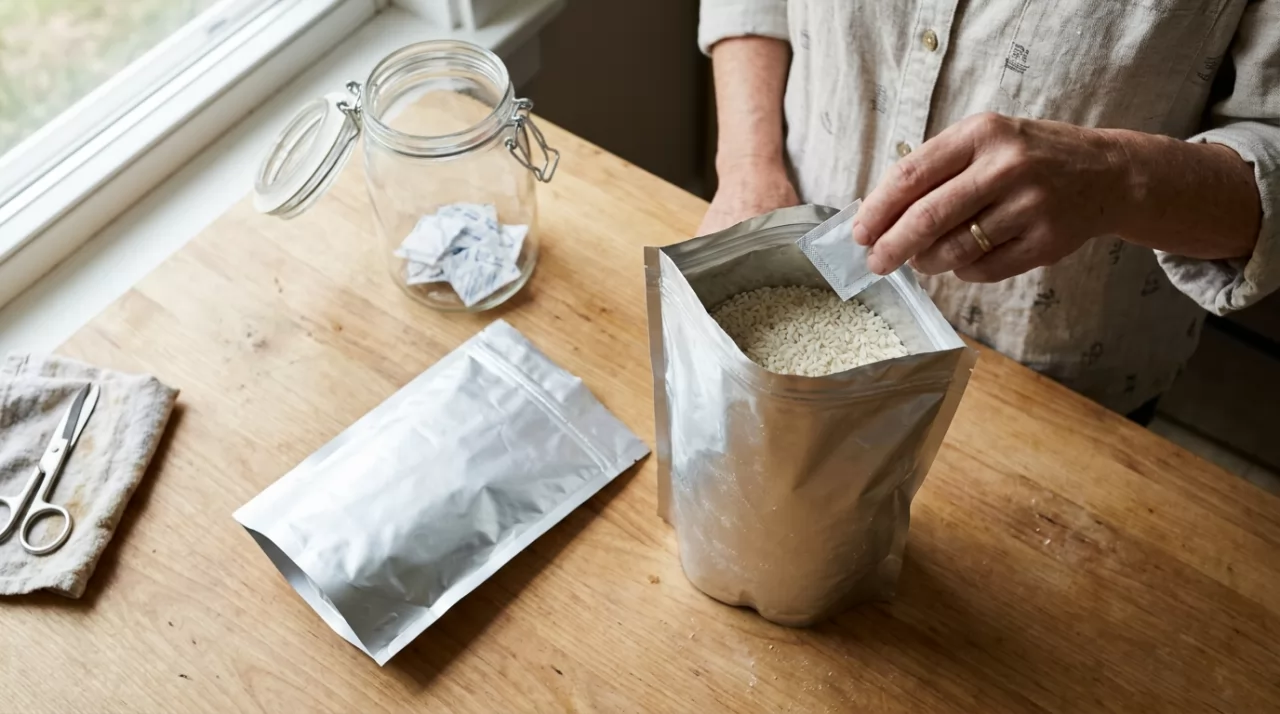
Drop the absorber in last, on top of the product. Then flatten the neck, press out the extra air, and seal at once. Leave a small gap open and a bag will draw in air as it cools, which undoes the work. After sealing, the bag should slowly tighten and take on a vacuum-packed look over a day or so. If the bag stays puffy, the absorber was too small, it was already spent, or the seal leaks.
Products that suit sealed storage
Oxygen absorbers suit dry products with low moisture, such as grains, dried beans, pasta and rice. They are not suited to damp foods, high-oil products or items with a high moisture content, because the low-oxygen environment can favour anaerobic organisms. Brown sugar, salt, and some dried fruits with higher moisture are also usually packed without absorbers or with specific guidance. Check the product before you pack it, not after.
Sealing is only half of the storage result. The product must be dry, and the bag must be intact, with the seal tested.
Is the Bag Itself Part of the Problem?
Sometimes. If you have tuned heat, time and cleanliness and still get weak seals, look at the film. Structure, thickness and sealant type all set what a sealer can do.
Film structure and thickness
A typical mylar storage bag is a laminate: an outer polyester layer, a barrier layer of metallised film or aluminium foil, and an inner heat-seal layer, usually polyethylene (PE). Thin bags seal at lower heat and are forgiving. Heavier laminates give better puncture resistance and barrier, but need more heat and a wider or dual seal. Thickness is usually quoted in microns or mil, and the sealer must be able to cope with it.
Sealant layer
The inner layer decides how the bag seals. Different PE grades melt at different temperatures. If a bag's sealant needs more heat than your sealer can deliver, you will see peeling seals even with perfect technique. Ask for the sealant type and the recommended sealing range, not just the thickness.
Zippers and valves
A zipper adds a bump in the film that makes the seal harder to flatten. For long-term storage, seal above the zipper and treat the zipper as a convenience for reopening, not as the barrier. A degassing valve suits fresh-roasted coffee that releases gas, but it is not a feature for oxygen-absorber packs of dry staples, since it adds a leak path you do not need.
Specifying Bags That Seal Cleanly at Scale
Once you move beyond a few bags, seal quality becomes a specification issue. Match the bag to the equipment, not the other way round, and write that into the order.
Start with the sealant layer. Tell the supplier what sealer you use, its jaw width and its maximum temperature, and ask which structure suits it. Then specify a seal-width margin: leave clear film above the fill line deeper than the jaw width, so a slightly crooked placement still lands inside the usable zone. A few extra millimetres of clean film costs little. A seal that lands on the product costs the pack.
Test samples before you commit. Request sample bags of the exact structure and size, seal them on your own machine with your own product, and run the pull test on a good number of them. Fill some with product and hold them for a few days, checking for puffing or slow air entry. Samples that seal well on the supplier's machine can behave differently on yours.
If you plan to sell sealed packs, ask for the film's food-contact documentation for your target market. Compliance papers belong with the quote, so ask for them early. Some structures also carry minimum order quantities that differ by print method, so confirm those before you finalise artwork.
On your next batch, seal ten empty bags of the new lot at your usual setting and pull-test every one before you fill any of them.