
Why a Proper Seal Makes or Breaks Your Product
A pouch is only as good as its weakest seal. When the closure fails, oxygen and moisture sneak in, shelf life drops, and your brand takes the hit. For perishable goods especially, the seal is your first line of defense.
As a manufacturer that has produced packaging for over 20 years, we've seen one pattern repeat across nearly every industry: brands focus on the artwork and barrier film, then overlook sealing. The result is returns and complaints that were entirely preventable.
Think about what's riding on that thin line of melted film. Freshness, food safety, and the unboxing experience your customer remembers. Getting it right protects all three.
Understanding the Anatomy of a Pouch Seal
Before you grab any tool, it helps to know what actually happens when two layers fuse. The inner layer of most pouches is made of a heat-activated material like polyethylene (PE) or cast polypropylene (CPP).
When heat and pressure are applied for the right amount of time, that inner layer melts and bonds. Three variables control everything: temperature, dwell time, and pressure. Get the balance right, and you have a seal that holds.
The Three Pillars of Every Strong Seal
- Temperature — too low and the film won't fuse; too high and you scorch or weaken it.
- Dwell time — how long the heat is applied, usually 1 to 3 seconds.
- Pressure — even, firm contact across the entire seal width.
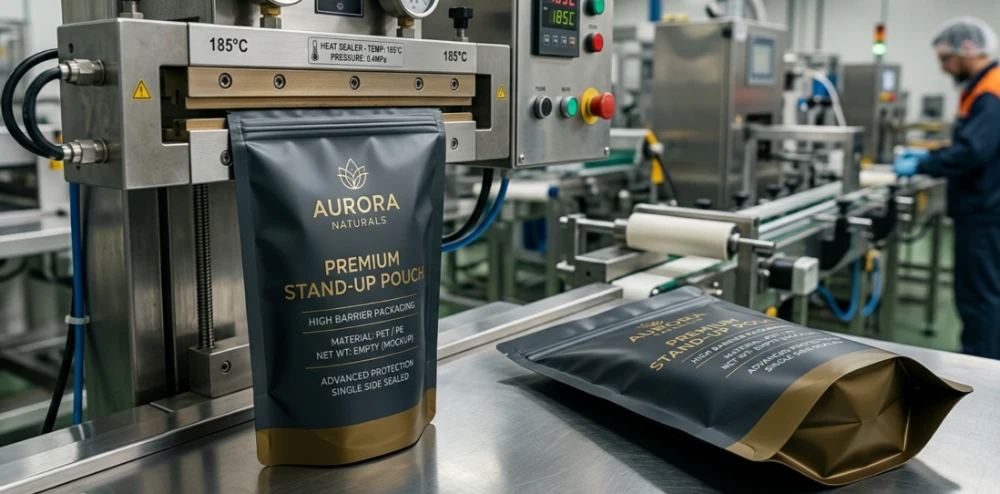
Tools You'll Need to Get Started
You don't need a factory floor to create a dependable closure. Your setup depends on volume, material type, and how polished you want the result to look.
| Tool | Best For | Typical Cost Range | Seal Quality |
|---|---|---|---|
| Handheld impulse sealer | Small batches, home use | $25–$80 | Good |
| Tabletop bar sealer | Medium runs, markets | $120–$400 | Very good |
| Clothing iron / flat iron | No-equipment fix | Already owned | Variable |
| Continuous band sealer | High volume production | $600+ | Excellent |
For most small brands launching their first product line, a tabletop impulse sealer hits the sweet spot. It's affordable, consistent, and forgiving for beginners.
Step-by-Step: Sealing With an Impulse Sealer
This is the most common method, and once you've done it a few times it becomes second nature. Here's the process, broken down simply.
- Fill the pouch, leaving 1 to 2 inches of clean space at the top for the seal zone.
- Wipe the seal area — even tiny food particles or oils can ruin the bond.
- Set your temperature based on film thickness (more on that below).
- Position the open edge flat between the jaws, no wrinkles.
- Press down firmly and hold for the dwell time, then release.
- Let it cool for a few seconds before handling — the bond sets as it cools.
The cooling step trips up a lot of people. Pulling the pouch away too early stretches the still-soft seam and creates micro-channels where air leaks in.
Heat Sealing Stand Up Pouch With Bag Sealer Settings
When you're working with a bag sealer, dial in the time setting rather than maxing it out. A common rookie error is cranking the heat too high, which makes the film brittle. Start low, test, and adjust upward in small steps.
Finding the Best Temperature to Heat Seal Stand Up Pouches
Temperature is where most failures happen, so let's get specific. The right setting depends entirely on your film structure and thickness.
| Pouch Material | Recommended Temp Range | Dwell Time | Notes |
|---|---|---|---|
| PET/PE (standard) | 120–150°C (248–302°F) | 1–2 sec | Most common, forgiving |
| Kraft/PE laminate | 130–160°C (266–320°F) | 2–3 sec | Thicker, needs more heat |
| Mylar/foil laminate | 150–180°C (302–356°F) | 2–4 sec | Highest barrier, runs hotter |
| Compostable (PLA) | 110–140°C (230–284°F) | 1–2 sec | Heat-sensitive, go gentle |
These are starting points, not gospel. Because we hold FDA and ISO 22000 certifications, we always recommend running a test seal on a sample before committing a full batch. Every machine reads temperature slightly differently.
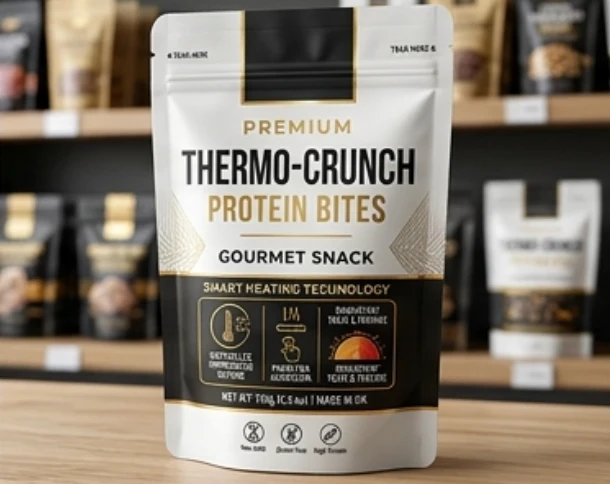
How to Heat Seal Mylar Stand Up Pouch at Home
Mylar and foil-lined pouches are the gold standard for long-term storage — think emergency food, single-origin coffee, or supplements. They run hotter and need a touch more patience.
At home, a flat iron or hair straightener actually works surprisingly well for these. Set it to medium-high, run it slowly along the opening, and you'll get a tight, airtight seam. For thicker foil, a second pass helps.
One tip from our experience working with brands across North America: always seal mylar slightly slower than you think you need to. The foil layer absorbs heat differently than plain plastic, so give it that extra second.
How to Heat Seal Stand Up Pouch Without a Sealer
No machine? No problem. You'd be amazed how many small brands started exactly here, sealing their first hundred orders on a kitchen counter.
The Clothing Iron Method
- Set your iron to a medium synthetic setting (no steam).
- Place a sheet of parchment paper over the pouch opening to protect the film.
- Press the iron firmly along the edge for 3 to 5 seconds.
- Lift, let cool, then tug-test the seam gently.
The Hair Straightener Method
A flat iron is honestly the unsung hero of home sealing. Clamp the pouch edge inside, hold for a few seconds, and glide. It gives even pressure on both sides at once, which a clothing iron can't match.
The most common mistake we see with manual methods is uneven pressure. Slow, deliberate movement beats speed every time.
How to Properly Heat Seal Resealable Stand Up Pouches
Resealable zippers add a layer of convenience your customers love — but they complicate sealing. The trick is to seal above the zipper track, never through it.
Here's the workflow: open the zipper, fill the pouch, close the zipper, then create your permanent heat seal in the strip of film above it. This gives you a tamper-evident top seal plus a reusable zipper underneath.
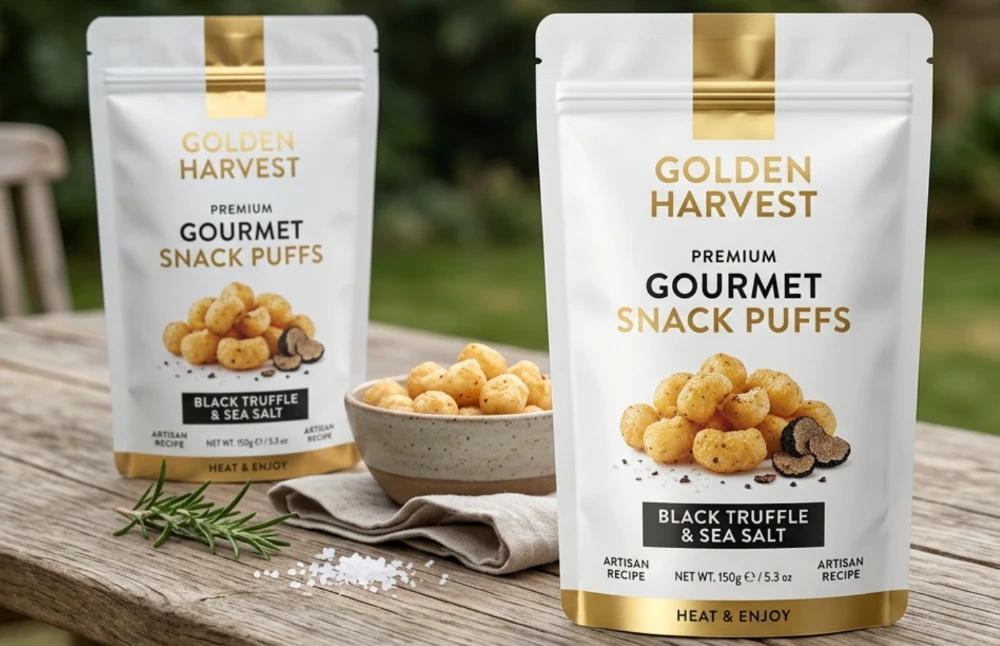
When customers open it the first time, they tear off the sealed strip and the zipper takes over. It's the same experience you feel opening a premium snack bag — fresh on day one, easy to reclose on day five.
Troubleshooting Common Seal Problems
Even seasoned hands hit snags. Here's a quick diagnostic guide to save you wasted material.
| Problem | Likely Cause | Fix |
|---|---|---|
| Seal peels apart | Temp too low or time too short | Increase by 10°C, add 1 sec |
| Film wrinkles/burns | Temp too high | Lower heat, reduce dwell |
| Gaps in the seam | Wrinkles or debris | Clean edge, lay flat |
| Brittle, cracking seal | Overheating | Cool slower, lower temp |
| Leaks at corners | Uneven pressure | Seal corners as a second pass |
Always run a "tug test" — gently pull the seam apart. If the film tears before the seal opens, you've got a winner. If the seal peels, adjust and retry.
When DIY Sealing Reaches Its Limit
Hand-sealing works beautifully for testing, samples, and early orders. But once you're shipping hundreds of units a week, inconsistency and time costs start adding up fast.
At that point, ordering pouches with reliable, pre-tested film structures becomes the smarter move. In our 6,800㎡ cleanroom facility, every roll of film is matched to the right sealing window so your team gets consistent results, batch after batch.
Our in-house design team often helps brands who only have a rough sketch and a product idea. We sort out the film barrier, the seal compatibility, and certifications — so you can focus on growing, not troubleshooting leaks.
A 2025 packaging industry survey found that seal failures account for roughly 30% of product-quality complaints in flexible packaging — almost all of them avoidable with the right material and process.
Quick Pre-Seal Checklist
- ✅ Seal zone clean and dry — no product residue
- ✅ Correct temperature for your film type
- ✅ Pouch edge flat, no wrinkles
- ✅ Adequate dwell time (test first)
- ✅ Full cooling before handling
- ✅ Tug-test every batch's first unit
Final Thoughts
Creating a strong, lasting closure comes down to three things you now understand well: the right heat, the right pressure, and the patience to let it cool. Whether you're using a tabletop machine or a humble flat iron, those fundamentals never change.
Start with test seals, respect your material's temperature window, and always tug-test. As your volume grows, partnering with a packaging maker who pre-engineers the right film for your product saves you countless headaches down the road.
Have questions about which pouch structure suits your product, or want help matching film to your sealing setup? Reach out to YLTPACK anytime via WhatsApp at +86 182 1944 5665 or email [email protected] — we're happy to talk through your specific needs.
Frequently Asked Questions
How do I know if my seal is strong enough?
Use the tug test: gently pull the seam apart. A proper seal will resist, and the film itself should tear before the bond breaks. If the seam peels open cleanly, increase your temperature or dwell time slightly and retest.
Can I reseal a pouch after the first heat seal?
Only if it has a built-in zipper. Once you create a permanent heat seal on a non-resealable pouch, cutting it open ends its airtight life. For products customers use over multiple sittings, choose a zippered design and seal above the track.
What temperature should I start with for a new pouch?
Begin at the lower end of your film's recommended range — around 120°C for standard PET/PE — then increase in 10°C steps until you get a clean, strong seam. Starting low prevents scorching and protects the film's integrity.
Why does my seal keep leaking at the corners?
Corners often get uneven pressure because film bunches there. Run a second, deliberate pass over each corner, and make sure the edge lies perfectly flat with no folds before you apply heat.
Is it worth buying a sealer, or should I order pre-sealed pouches?
For testing and small launches, an inexpensive impulse sealer is plenty. Once you're shipping consistent volume, custom pouches engineered with a tested sealing window save time and reduce failures — which is where a manufacturing partner becomes genuinely valuable.