
You've narrowed your packaging format down to a flat pouch. Smart move — flat pouches ship efficiently, display cleanly, and protect contents without unnecessary bulk. But now comes the question that trips up even experienced purchasing teams: should you specify a three side seal or a four side seal structure?
The difference sounds minor. It isn't. Your choice affects material cost, filling line compatibility, shelf appearance, and barrier performance. This guide breaks down both options so you can walk into your next supplier conversation with a clear spec — and avoid the costly sample-round restarts that come from choosing the wrong structure.
Three Side Seal Pouch: Structure, Strengths, and Use Cases
A three side seal pouch is made from a single sheet of film folded in half, then sealed on three edges. The fold creates one continuous edge (usually the bottom), while the remaining three sides are heat-sealed. This is one of the most common flexible packaging seal types for lightweight, single-use products.
Because it uses one film web, it's inherently efficient. There's less material waste, simpler machine setup, and fewer variables during sealing. For brands running their first custom pouch project, this structure often provides the fastest path from artwork to finished goods.
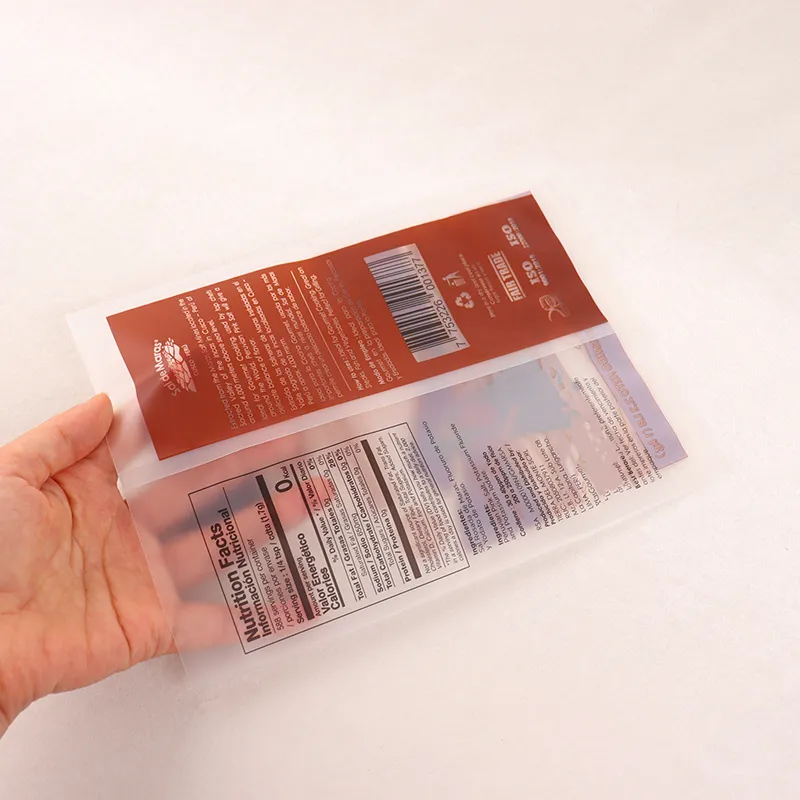
Best-Fit Products
Three side seal pouches excel for products that are dry, lightweight, or individually portioned. Common applications include:
- Sample sachets for supplements, protein powders, or drink mixes
- Single-serve snack packs (nuts, dried fruit, jerky)
- Cosmetic trial sizes (serums, creams, sheet mask liquids)
- Electronic accessories (cables, adapters, screen protectors)
- Jewelry and apparel inserts
- Seed packets and garden sachets
If your product weighs under 100 grams and doesn't need to stand upright on a retail shelf, three side seal pouch packaging is likely your starting point.
Limitations to Be Aware Of
The folded edge restricts certain lamination combinations. If you need different materials on the front and back — say, a clear window on one side and an aluminum foil barrier on the other — a three side seal structure can't deliver that because both faces come from the same sheet.
Pouches filled with liquids may also bulge unevenly due to the single-fold construction, making them less stable in display trays or retail hooks compared to a symmetrically sealed alternative.
Four Side Seal Pouch: Structure, Strengths, and Use Cases
A four side seal pouch uses two separate sheets of film sealed together on all four edges. This creates a completely flat, symmetrical package with no folded edge. The result is a noticeably flatter profile and the ability to use different materials on the front and back panels.
This structure is preferred when the product demands a premium tactile feel, when asymmetric barrier properties are required, or when filling equipment is designed for two-web pouch formats.
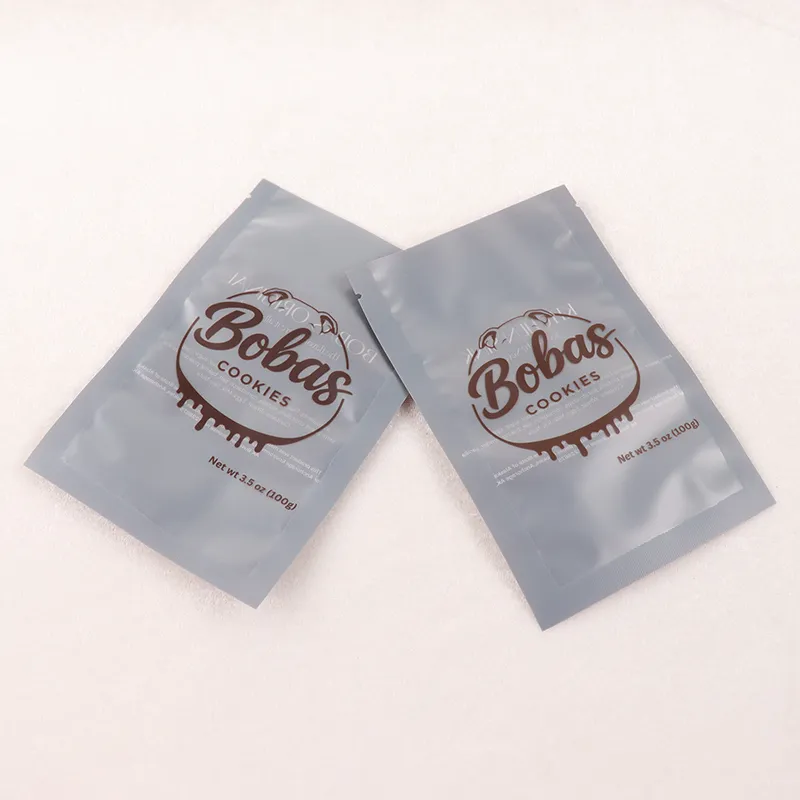
Best-Fit Products
Four side seal pouches are the standard for products where flatness, moisture control, or visual differentiation matter most:
- Sheet face masks and wet wipes
- Pharmaceutical sachets (single-dose medications, diagnostic strips)
- Premium tea bags and specialty coffee samples
- Liquid samples (shampoo, lotion, sauce)
- Electronics requiring strict moisture barrier (desiccant packs, sensor components)
If your product needs a clear front for visibility and a foil back for protection, the four side seal pouch is the natural choice.
Limitations to Be Aware Of
Using two film webs means slightly higher material consumption per unit. Production also typically requires different machinery and tooling compared to three side seal lines, which can affect minimum order quantities and lead times for first-time orders.
For brands testing a new SKU at low volume, this structure may require more upfront commitment in tooling — though experienced manufacturers can often work around this with flexible plate configurations.
Three Side Seal vs Four Side Seal at a Glance
This comparison table covers the factors that purchasing managers and brand owners actually weigh when specifying pouch structures:
| Factor | Three Side Seal Pouch | Four Side Seal Pouch |
|---|---|---|
| Film webs used | 1 (folded) | 2 (separate sheets) |
| Material efficiency | Higher | Slightly lower |
| Front/back material flexibility | Same on both faces | Can differ (e.g., clear + foil) |
| Best fill volume | Small to medium | Very small to medium |
| Shelf presentation | Standard | Flatter, premium feel |
| Common applications | Snacks, powders, accessories | Wipes, masks, pharma sachets |
| Tooling/MOQ flexibility | Generally easier for small runs | May require dedicated tooling |
| Print real estate | Continuous front panel | Two distinct panels |
| Tear notch compatibility | On sealed edges only | On any edge |
| Asymmetric barrier possible | No | Yes |
Cost Drivers Behind Each Seal Style
Understanding what moves unit cost helps you frame a more effective request for quotation — and gives you leverage to optimize without sacrificing performance.
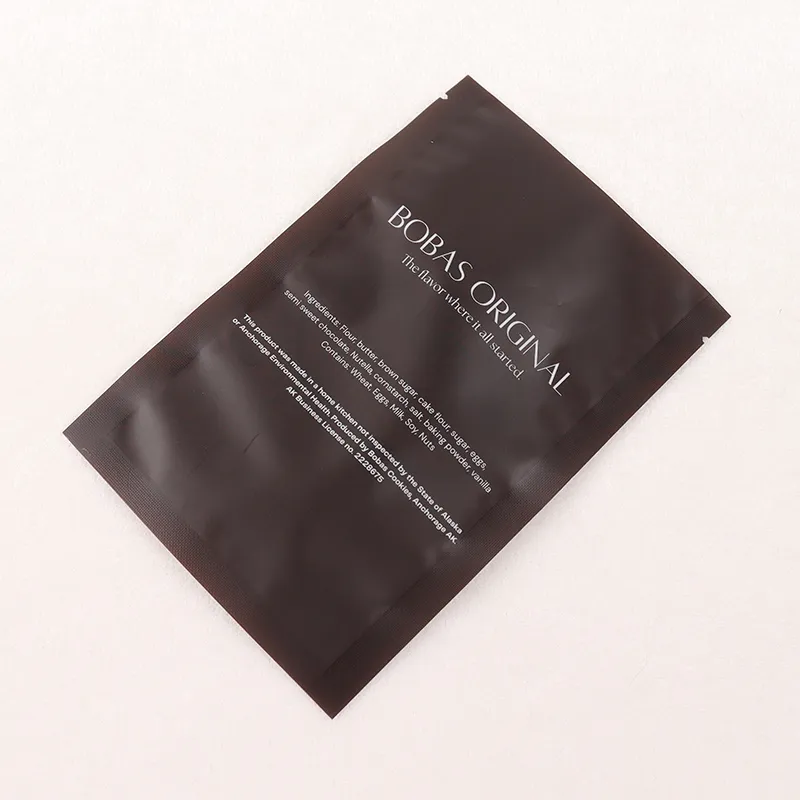
Material Structure and Barrier Requirements
The film laminate is typically the largest cost component. Common structures include PET/PE for general-purpose dry goods, MOPP/CPP for snack applications requiring clarity and stiffness, and aluminum foil laminates for maximum oxygen and moisture barrier.
Three side seal pouches use one web, so your material choice applies uniformly. Four side seal pouches allow you to pair a high-barrier back (foil laminate) with a lower-cost clear front — sometimes reducing overall material cost when full barrier isn't needed on both faces.
Print Coverage and Color Count
Rotogravure printing costs scale with the number of colors and the percentage of surface covered. A four side seal pouch can sometimes save ink when only one face carries full-color branding while the back remains unprinted or carries simple text.
Three side seal pouches, because they print on a single web before folding, require the entire sheet to pass through the press — meaning both faces are printed in the same pass regardless of design complexity.
Add-Ons That Affect the Quote
Features like tear notches, hang holes, euro slots, resealable zippers, round corners, and matte or spot UV finishes all influence the final unit cost. Each add-on may require additional tooling or processing steps.
This is where working with an experienced manufacturer makes a measurable difference. Teams with 20+ years in flexible packaging — like those operating in custom pouch production daily — can often re-engineer a spec to hit a target cost without compromising barrier performance. Small adjustments to notch placement, corner radius, or laminate gauge can shift economics significantly.
How to Choose: A Decision Framework for Brand Buyers
Rather than guessing, walk through these five steps to self-qualify your pouch structure before requesting samples.
Step 1 — Define the Product's Physical State
Is your product a solid, powder, liquid, gel, or dry good? Solids and powders typically work well in either structure. Liquids and gels benefit from the symmetrical seal integrity of a four side seal pouch, which distributes internal pressure more evenly across all edges.
Step 2 — Map the Shelf or Box Environment
Where will this pouch live? Consider whether it hangs on a retail hook, sits inside a multi-pack carton, ships inside an e-commerce mailer, or rests in a hotel amenity tray. Flat pouches destined for cartons benefit from the consistent profile of four side seal construction. Hook-display pouches need a hang hole — easier to place on a sealed edge than a folded one.
Step 3 — Match Barrier Needs to Film Options
Identify your primary enemies: oxygen, moisture, light, or aroma loss. If you need asymmetric protection — for example, a foil back to block light while keeping a clear front for product visibility — you need a four side seal structure. If uniform barrier on all sides is sufficient, three side seal keeps things simpler.
Step 4 — Confirm Fill Line Compatibility
Are you using pre-made pouches loaded into a fill-and-seal machine, or roll-stock that forms pouches inline? Your filling equipment's sealing jaw type and feed mechanism may dictate which structure runs more efficiently. Always confirm with your co-packer or filling line operator before finalizing the pouch spec.
Step 5 — Factor in Branding Goals
Do you want a transparent window? A matte-finish zone for tactile contrast? High-resolution photography across the full front panel? Three side seal gives you a seamless front canvas. Four side seal gives you two distinct design zones — useful when regulatory text needs clear separation from marketing graphics.
Real-World Examples From Custom Packaging Projects
These anonymized project snapshots illustrate how the decision plays out in practice.
A Supplement Brand Switching From Bottles to Sachets
A U.S.-based supplement company wanted to launch a daily greens powder in single-serve format. Their goals: reduce shipping weight by 60%, offer a "grab and go" format for gym bags, and maintain a 12-month shelf life.
The team specified a three side seal pouch with a PET/AL/PE laminate. The single-web structure kept tooling costs low for their initial 50,000-unit test run. Tear notches on both side seals gave consumers an easy-open experience. The continuous front panel allowed edge-to-edge matte printing with a gloss-varnish logo highlight.
A Pet Treat Startup Testing the Market
A pet food startup needed 5,000 sample pouches across three flavors to distribute at trade shows and include in subscription boxes. Speed and low commitment mattered more than per-unit cost optimization.
Three side seal was specified because it required no dedicated tooling for their pouch size, and digital printing enabled full-color artwork without plate charges. Once the brand validated demand, they scaled into stand-up pouches for retail — but the flat sachet format proved the concept affordably.
Projects like these are produced in YLTPACKING's 6,800 m² dust-controlled facility with FDA and ISO-certified processes, ensuring consistency from the first sample through bulk production. Having an in-house design team means dieline creation, artwork adjustments, and pre-press proofing happen under one roof — eliminating the back-and-forth delays that plague multi-vendor workflows.
Common Mistakes Buyers Make When Specifying Seal Type
Avoiding these errors can save you an entire sample cycle — and weeks of timeline.
Choosing Based on Look, Not on Filling Equipment
A pouch can look perfect in a mock-up but fail on the production line. If your co-packer's machine uses horizontal form-fill-seal with a single-web feed, specifying a four side seal pouch means they can't run it. Always verify equipment compatibility before approving the structure.
Over-Specifying Barrier for a Short Shelf-Life Product
A product consumed within 30 days of opening doesn't need the same aluminum foil laminate as one sitting on a warehouse shelf for 18 months. Over-engineering the barrier raises material cost without delivering value your customer will notice.
Forgetting Tear Notch Placement on Folded Edges
On a three side seal pouch, the bottom edge is a fold — not a seal. You cannot place a functional tear notch on a folded edge. If your consumer needs to tear from the bottom, you'll need to redesign the orientation or switch to a four side seal structure where all edges are sealed.
Ignoring How Cartoning Affects the Best Pouch Profile
If 12 sachets need to stack neatly inside a display carton, the pouch profile matters. Four side seal pouches stack more uniformly because both faces are flat-sealed. Three side seal pouches with a folded bottom can create slight wedge shapes when filled, leading to uneven stacking in cartons.
FAQ — Three Side Seal vs Four Side Seal Pouch
Can I print full-color graphics on both seal styles?
Yes. Three side seal pouches give you a continuous front panel ideal for wraparound designs. Four side seal pouches give you two distinct panels — both support rotogravure and digital printing at high resolution. The choice depends on your artwork layout, not print capability.
What's the smallest order size for custom pouches?
It depends on film structure and print method. Digital printing typically allows smaller test runs (as low as a few thousand units) than rotogravure, which requires cylinder creation and is more economical at higher volumes. Share your target quantity and we can recommend the most cost-effective print path.
Can I add a zipper or tear notch to either style?
Tear notches work on both styles — positioned on any sealed edge. Zippers are more common on stand-up pouches or larger flat formats. They're possible on four side seal pouches in specific configurations, but less typical on small three side seal sachets due to size constraints.
How long does custom production usually take?
Lead times vary by structure, print process, and quantity. A complete spec sheet — including dimensions, material, artwork files, and quantity — shortens the timeline significantly. Most custom pouch projects move from approved artwork to shipment within 2–4 weeks depending on complexity.
What if I'm not sure which structure is right for my product?
That's exactly what a structure recommendation consultation solves. Share your product details — type, weight, shelf life, and how it will be displayed — and a packaging engineer can recommend the optimal format with supporting rationale.
Ready to Specify the Right Pouch for Your Product?
You don't need to commit to a structure before reaching out. The goal of your first conversation with a manufacturer should be getting a clear recommendation backed by material science and production experience — not a generic quote.
What You'll Receive Back
When you share your product details with our team, you'll receive a structure proposal (three side seal, four side seal, or an alternative format if warranted), a film laminate recommendation matched to your shelf-life requirements, a digital mock-up on your chosen structure, and a sample plan so you can evaluate the pouch physically before committing to production.
This process is supported by an in-house design team and over 20 years of custom pouch manufacturing experience — from initial concept through bulk delivery.
Share your product details and we'll send back a tailored pouch recommendation with physical samples — so you can compare three side seal and four side seal in your own hands before committing to a production run.
What to Send for an Accurate Recommendation
To get the most useful response on your first inquiry, include:
- Product type and physical state (powder, liquid, solid, gel)
- Fill weight or volume per pouch
- Required shelf life
- Target market and retail environment
- Artwork status (ready, in progress, or need design support)
- Target launch date
- Estimated annual quantity
The more detail you provide upfront, the faster you'll receive a recommendation you can act on — with confidence that the structure, material, and format are aligned to your product's actual needs.